How to run an AI Pipeline with Elyra
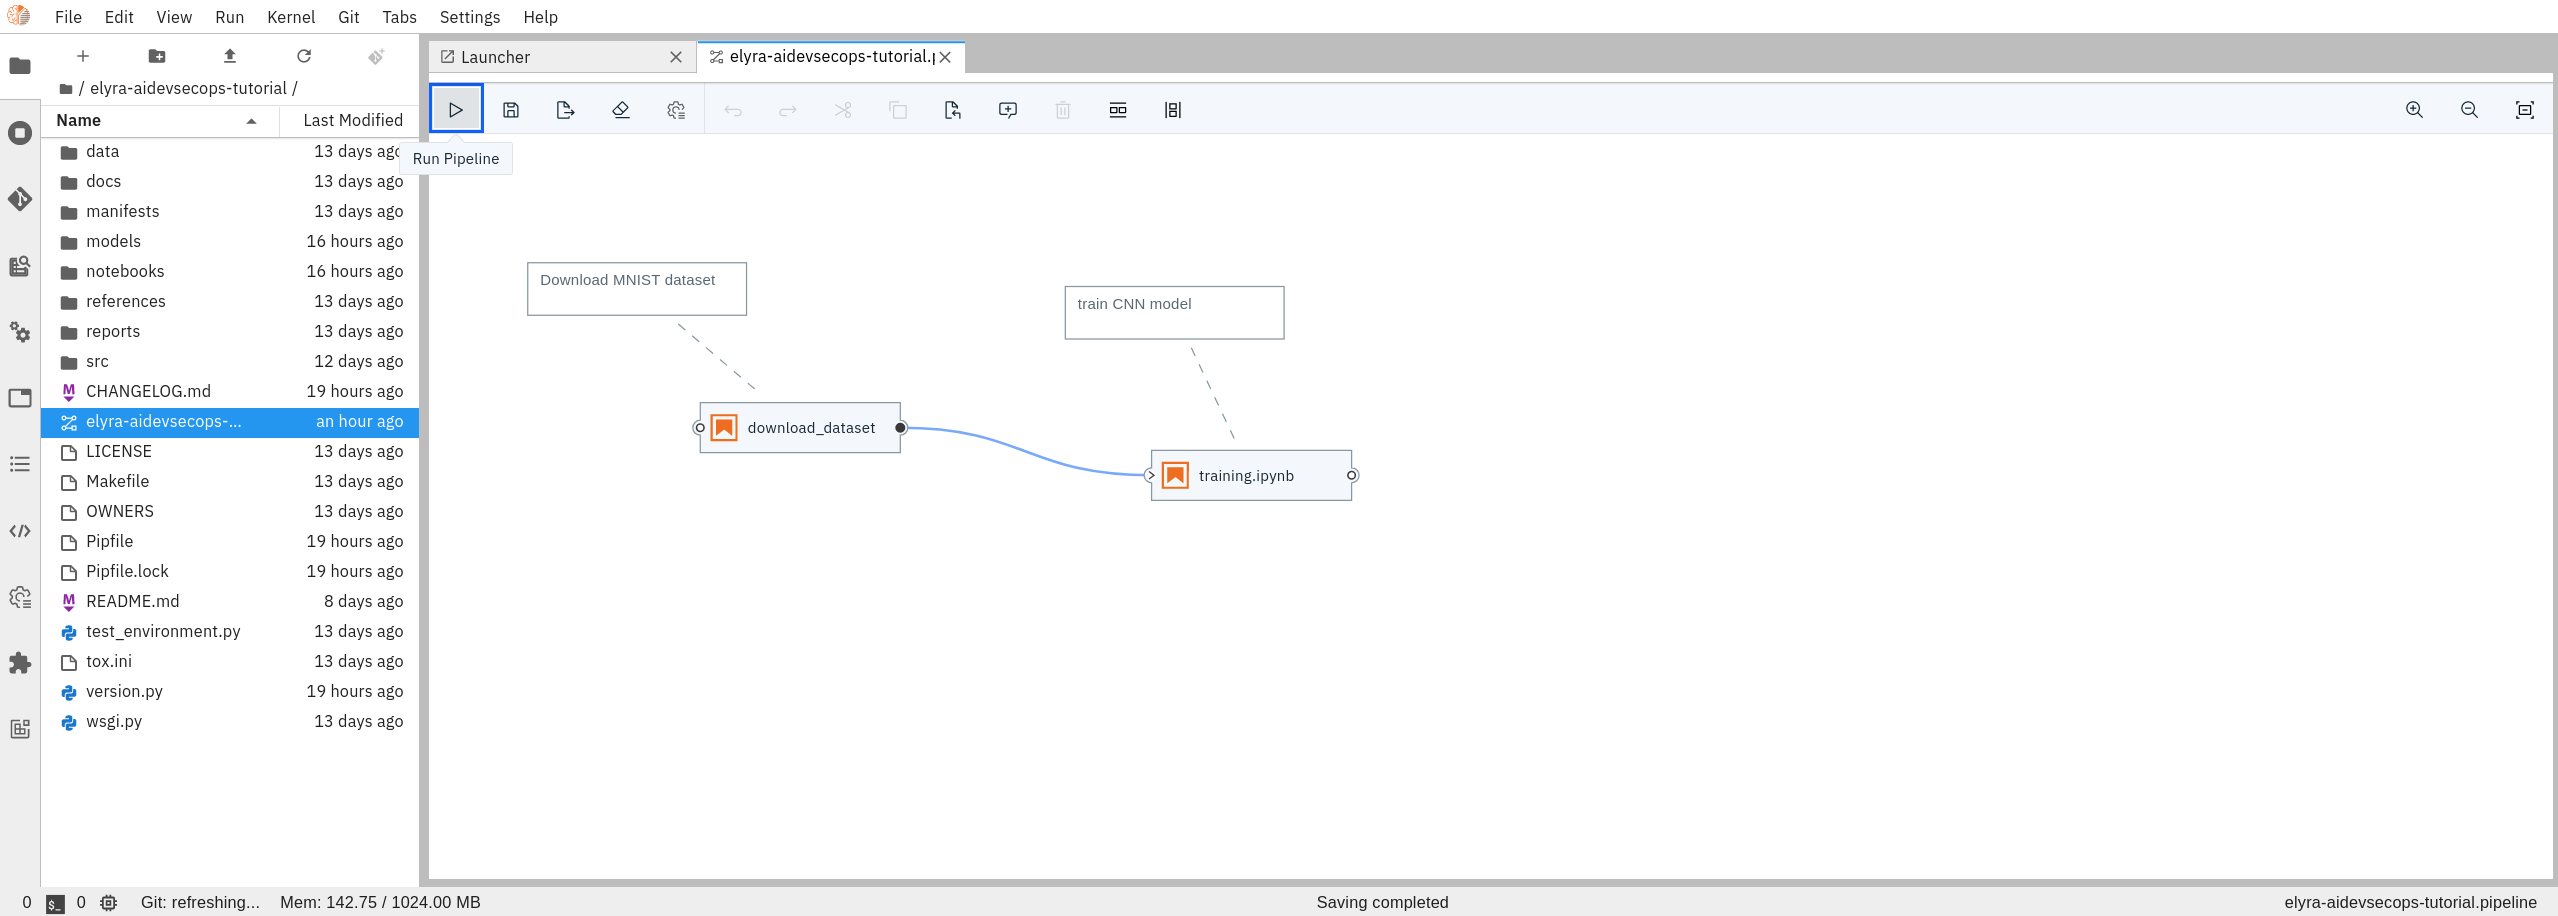
- To run the Elyra pipeline created in the previous step, click the “Run” button in the upper left of the UI to start the AI Pipeline.
- After clicking “Run”, you will be presented with a dialogue box where you need to select which runtime environments to use as well as add a name for your pipeline.
- Pipeline Name: give it whatever name you want
- Runtime Platform: select Kubeflow Pipelines runtime.
- Runtime Configuration: the runtime you defined in the last section.
Click “OK” to submit your pipeline.

- Now your pipeline has been submitted, you will see the following dialogue box.
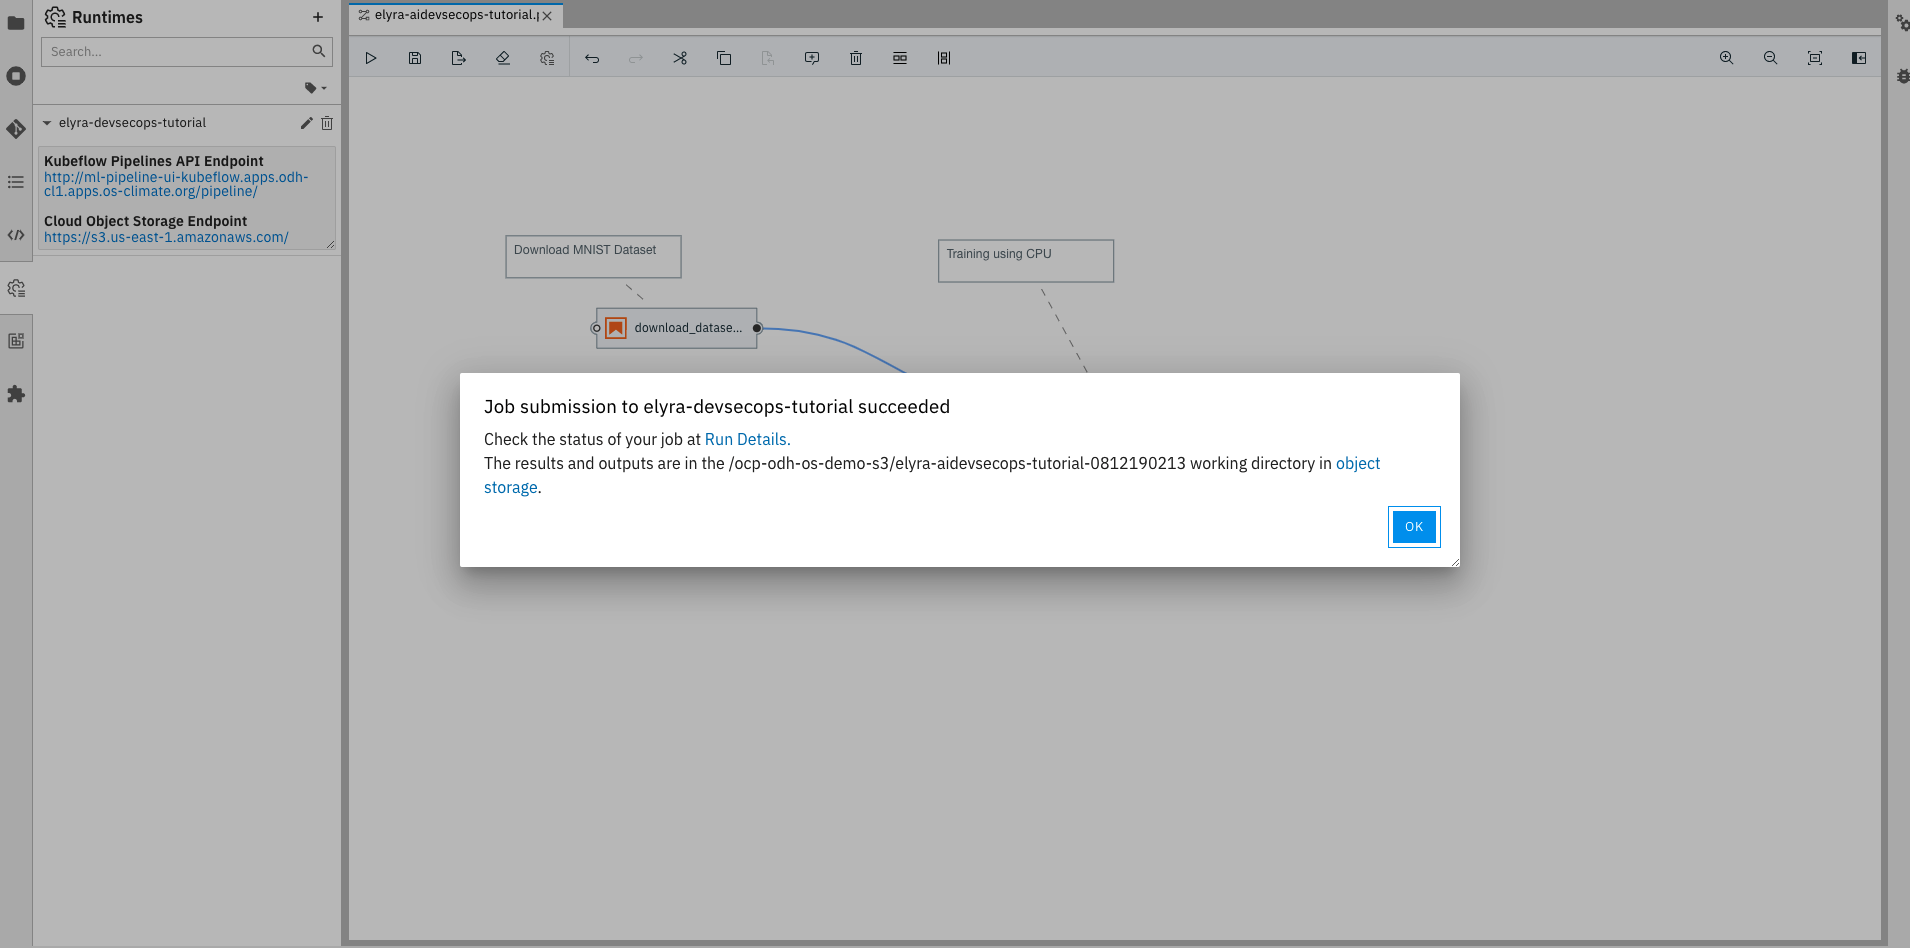
Click Run details to move to the Kubeflow Pipeline UI to see what is happening
- From here you can check the status of each step in the pipeline directly from the UI and debug from the logs if any problems occur. To view the logs, click on the node and go to the Logs tab.
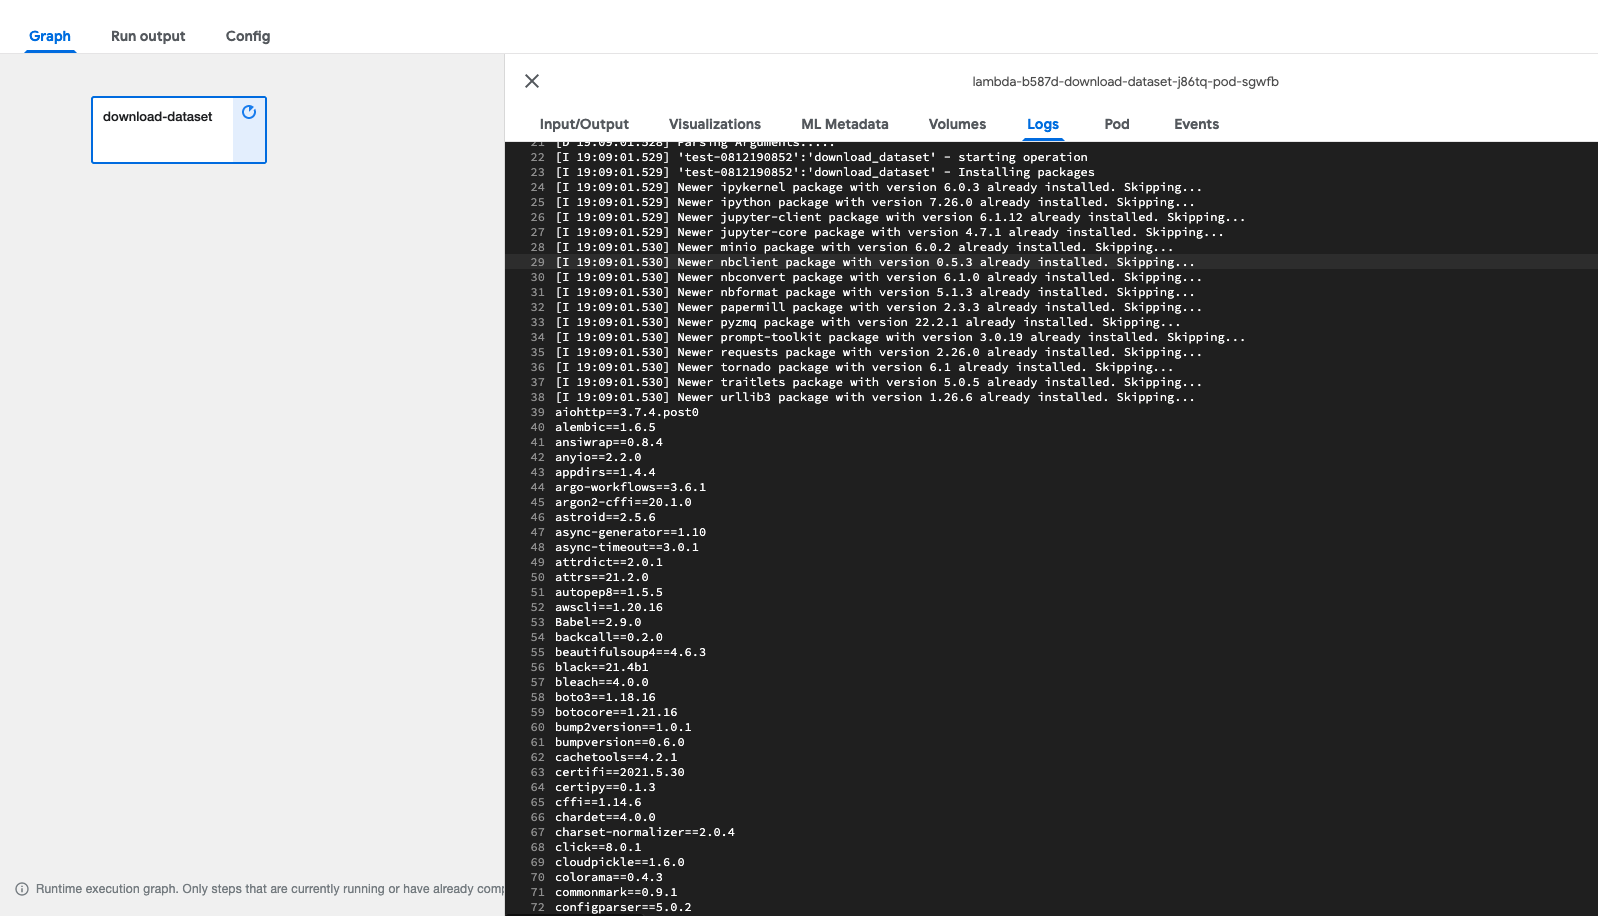
Once the pipeline executes succesfully, you should see a green check mark next to each step.

Once the pipeline completes successfully, the model is stored in your bucket. You can check from your terminal with the aws CLI using the following command:
aws s3 --profile moc-pipeline-kfp --endpoint https://s3-openshift-storage.apps.zero.massopen.cloud/ ls s3://{your_bucket}/{your_project_name}/models/where moc-pipeline-kfp is the aws profile containing AWS_ACCESS_KEY_ID and AWS_SECRET_ACCESS_KEY to access your bucket.
Additional Resources
For more examples on how to create AI pipelines with Elyra, you can use this link.