Explore the notebooks
For the purpose of this tutorial, the notebooks have been created already.
In particular, the notebooks that will be used are:
- download_dataset.ipynb for downloading the MNIST dataset from Tensorflow. NOTE: in Elyra this step can also be performed with the provided [Python script](../../data/downloaddatasetfromtf.py)_.
- training.ipynb for training the model for MNIST Classification and storing it locally or in cloud object storage.
Manage dependencies
Reproducibility and shareability of notebooks is very important if you want to allow others to repeat your experiments and avoid issues due to dependencies management.
When using pip install <package_name> is not possible to verify which software stack was used to run the notebook and therefore another user cannot repeat the same experiment.
Check the video here if you want to know more.
In order to avoid this issues, dependencies for jupyter notebooks in this tutorial are managed using the JupyterLab extension jupyterlab-requirements.
You can use this extension for each of your notebook to guarantee they have the correct dependencies and kernel. This extension is able to add/remove dependencies, lock them and store them in the notebook metadata. In this way all the dependencies information required to repeat the environment are shipped with the notebook.
In particular, in the notebook metadata you can find:
- requirements (Pipfile)
- requirements locked with all hashes (Pipfile.lock)
- dependency resolution engine used (thoth or pipenv)
- configuration file for runtiment environment (.thoth.yaml if you are using thoth resolution engine)
All this information can allow reproducibility of the notebook.
There are 3 ways to interact with this extension:
- using
%horusmagic commands directly in your notebook’s cells (preferred approach). To learn more about how to use the%horusmagic commands check out the guide here or the video here

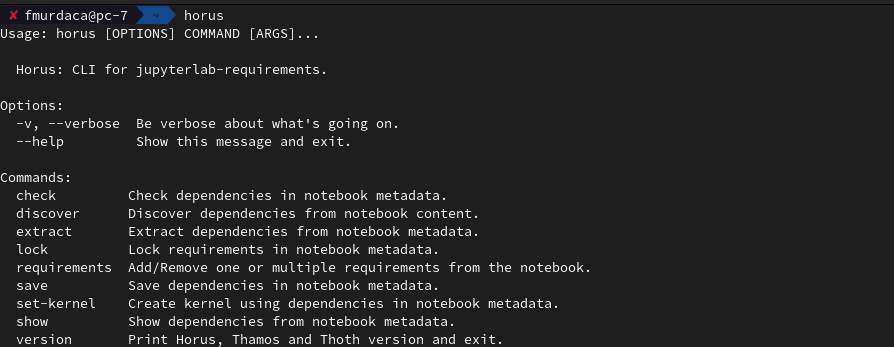
- using the
horusCLI directly from terminal or integrated in pipelines (check video).
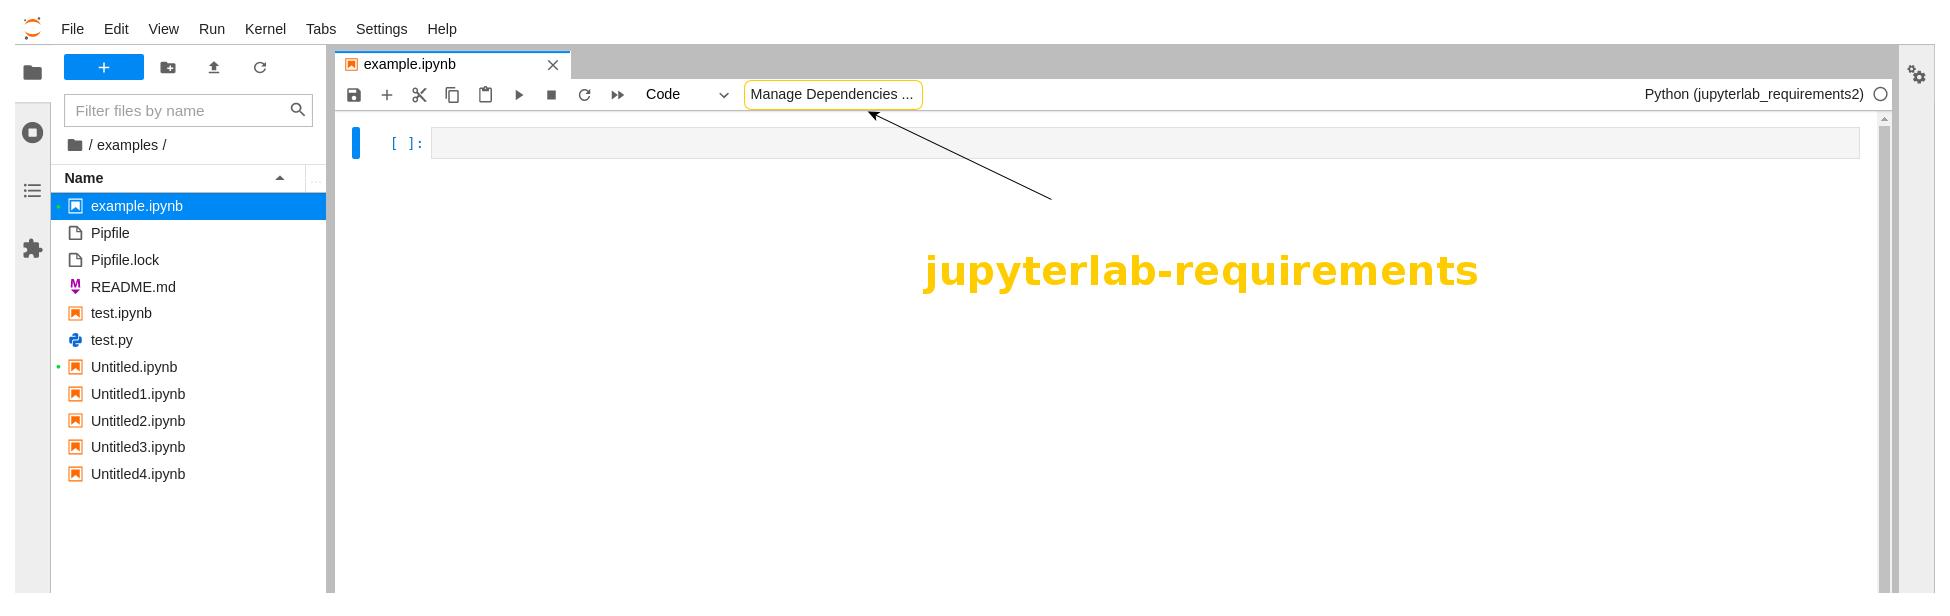
- using the
Manage Dependenciesbutton that appears in the notebook when it is opened:
Run the notebooks
For the notebooks in this tutorial, the dependencies have already been set.
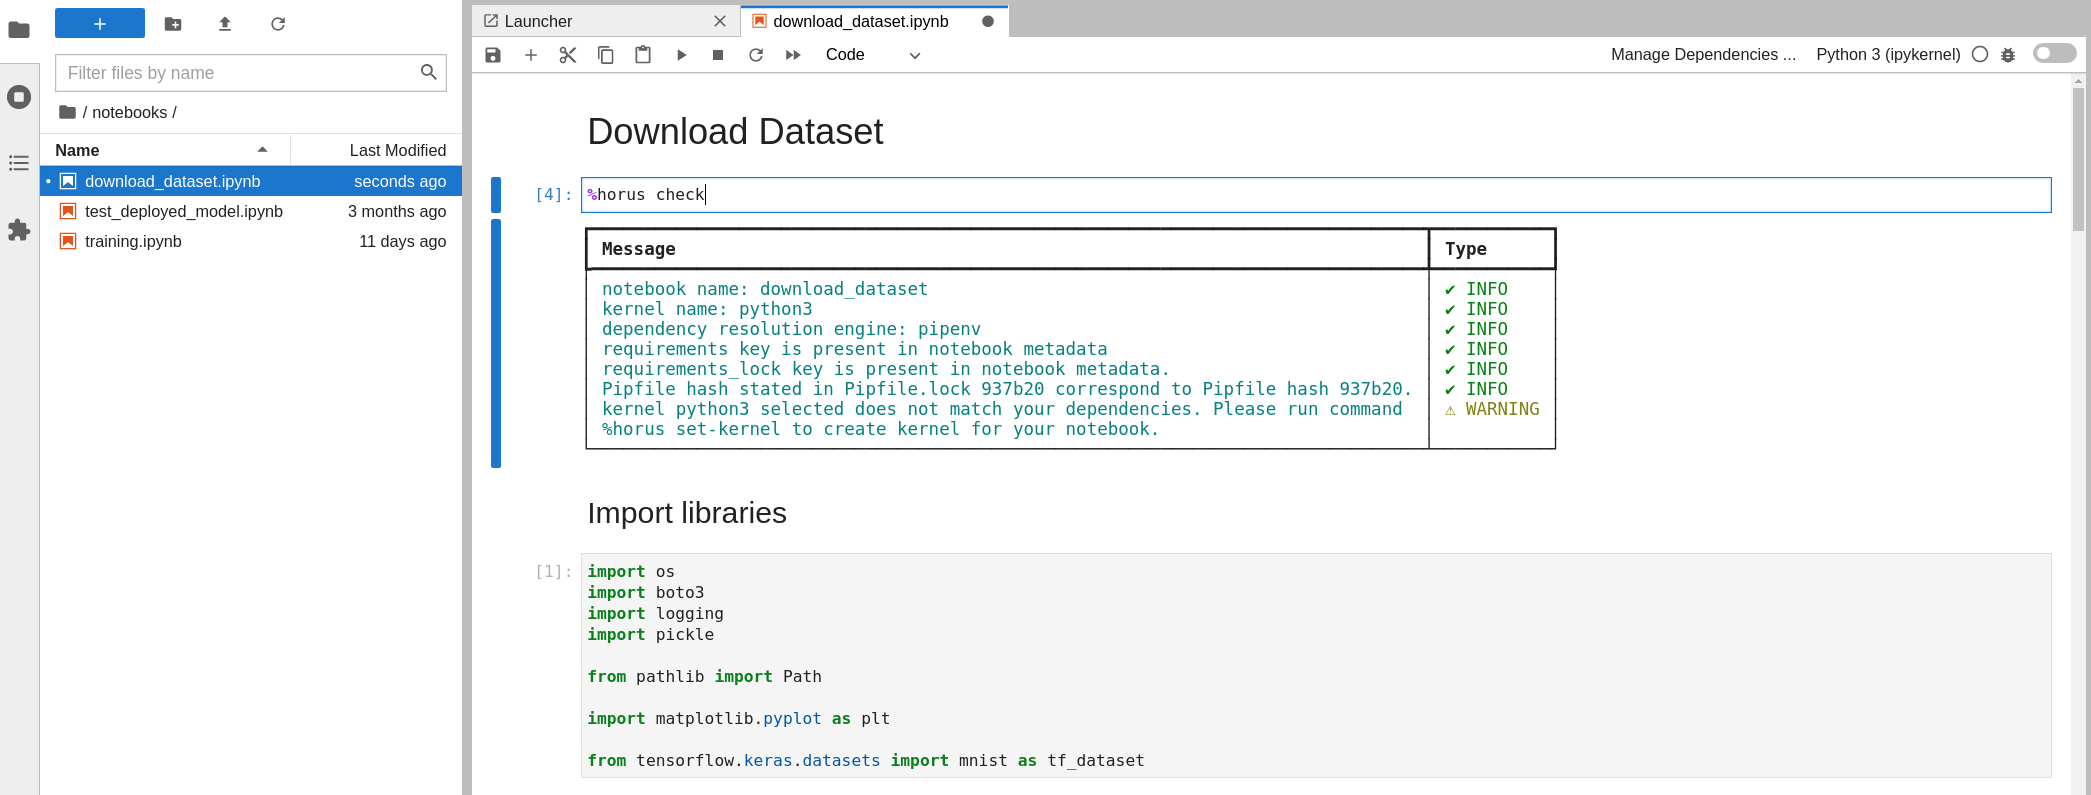
You can check the status of your notebook by running %horus check:
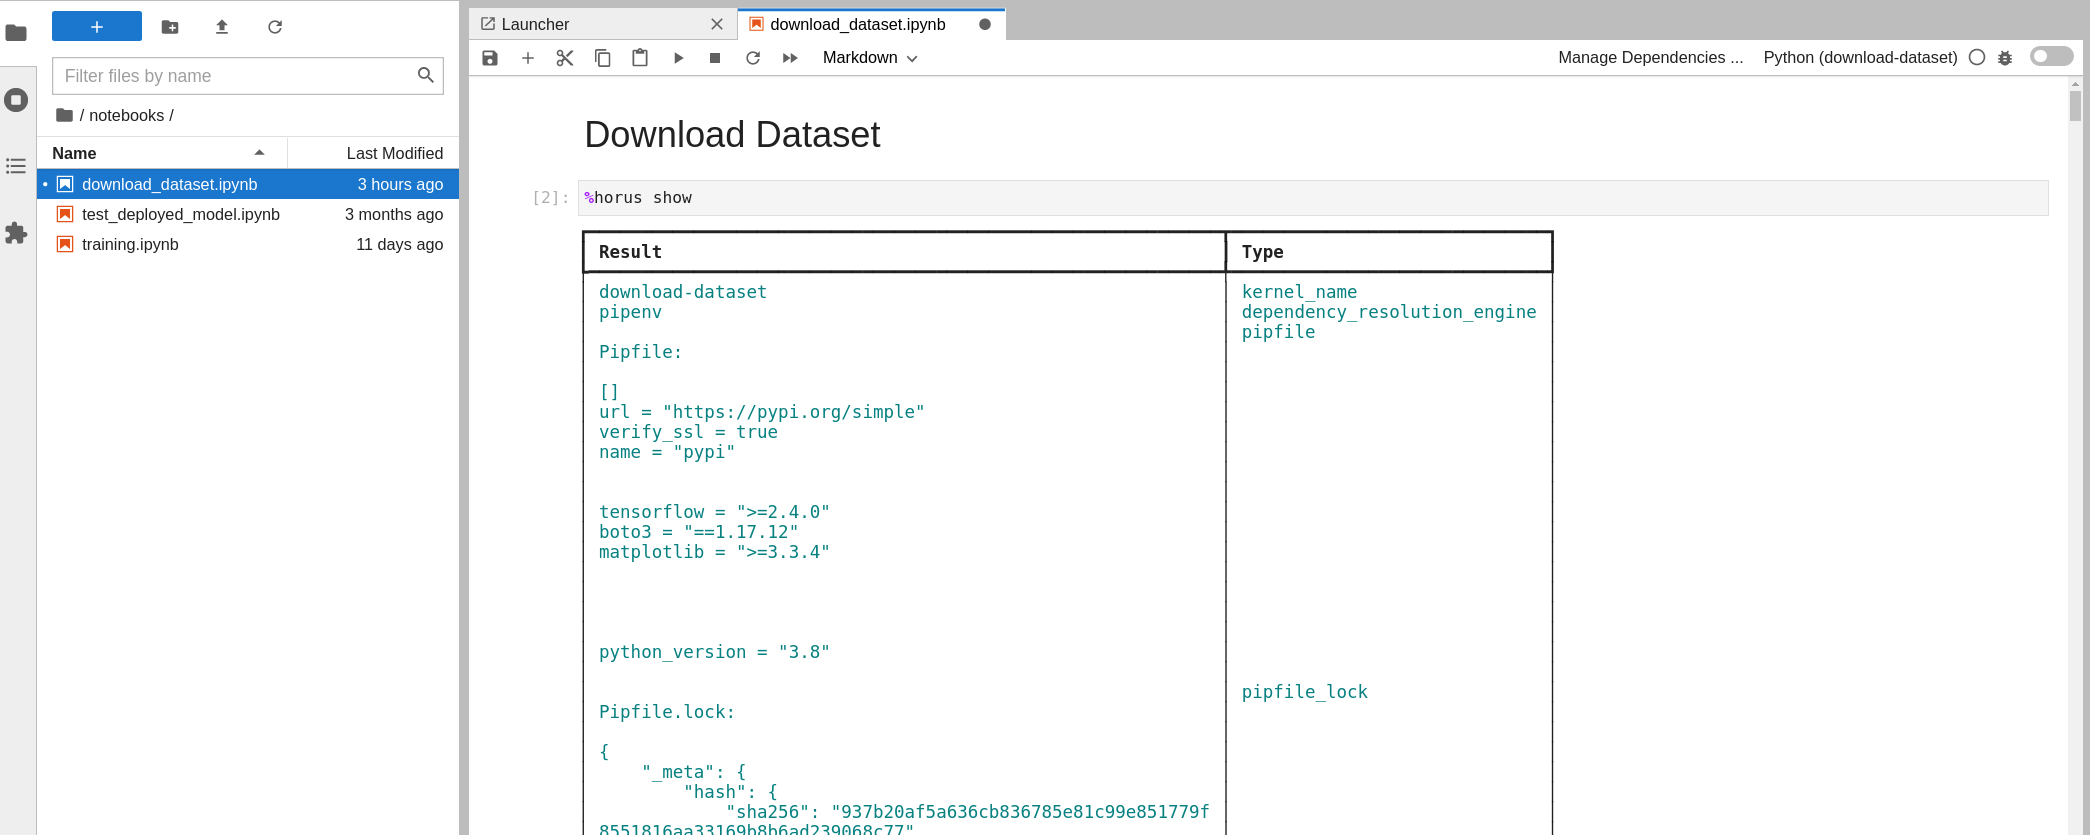
You can check the dependencies content of your notebook by running %horus show:
If you want to create the kernels to successfully run the notebooks, the only thing you have to do is run %horus set-kernel in one cell of the notebook.
This command will create a kernel with the requirements stated in your notebook, install the dependencies saved in the notebook and set the kernel for your notebook.
Once the command ends, you can save the notebook and delete that cell.
Now you are ready to run your notebook with the same environment that was used when the notebook was created in the first place!