Create AI Pipeline (using Elyra UI)
Creating an AI Pipeline consists of 3 steps:
Add runtime images (using UI)
Now that your images are available on the registry, we need to add them to Elyra metadata. For that, we need to create a runtime image configuration which identifies the container image that Elyra can pull from our registry and utilize to run the Jupyter notebooks.
-
Open command palette (Cntrl + Shift + C) and select
"Manage Runtime Images".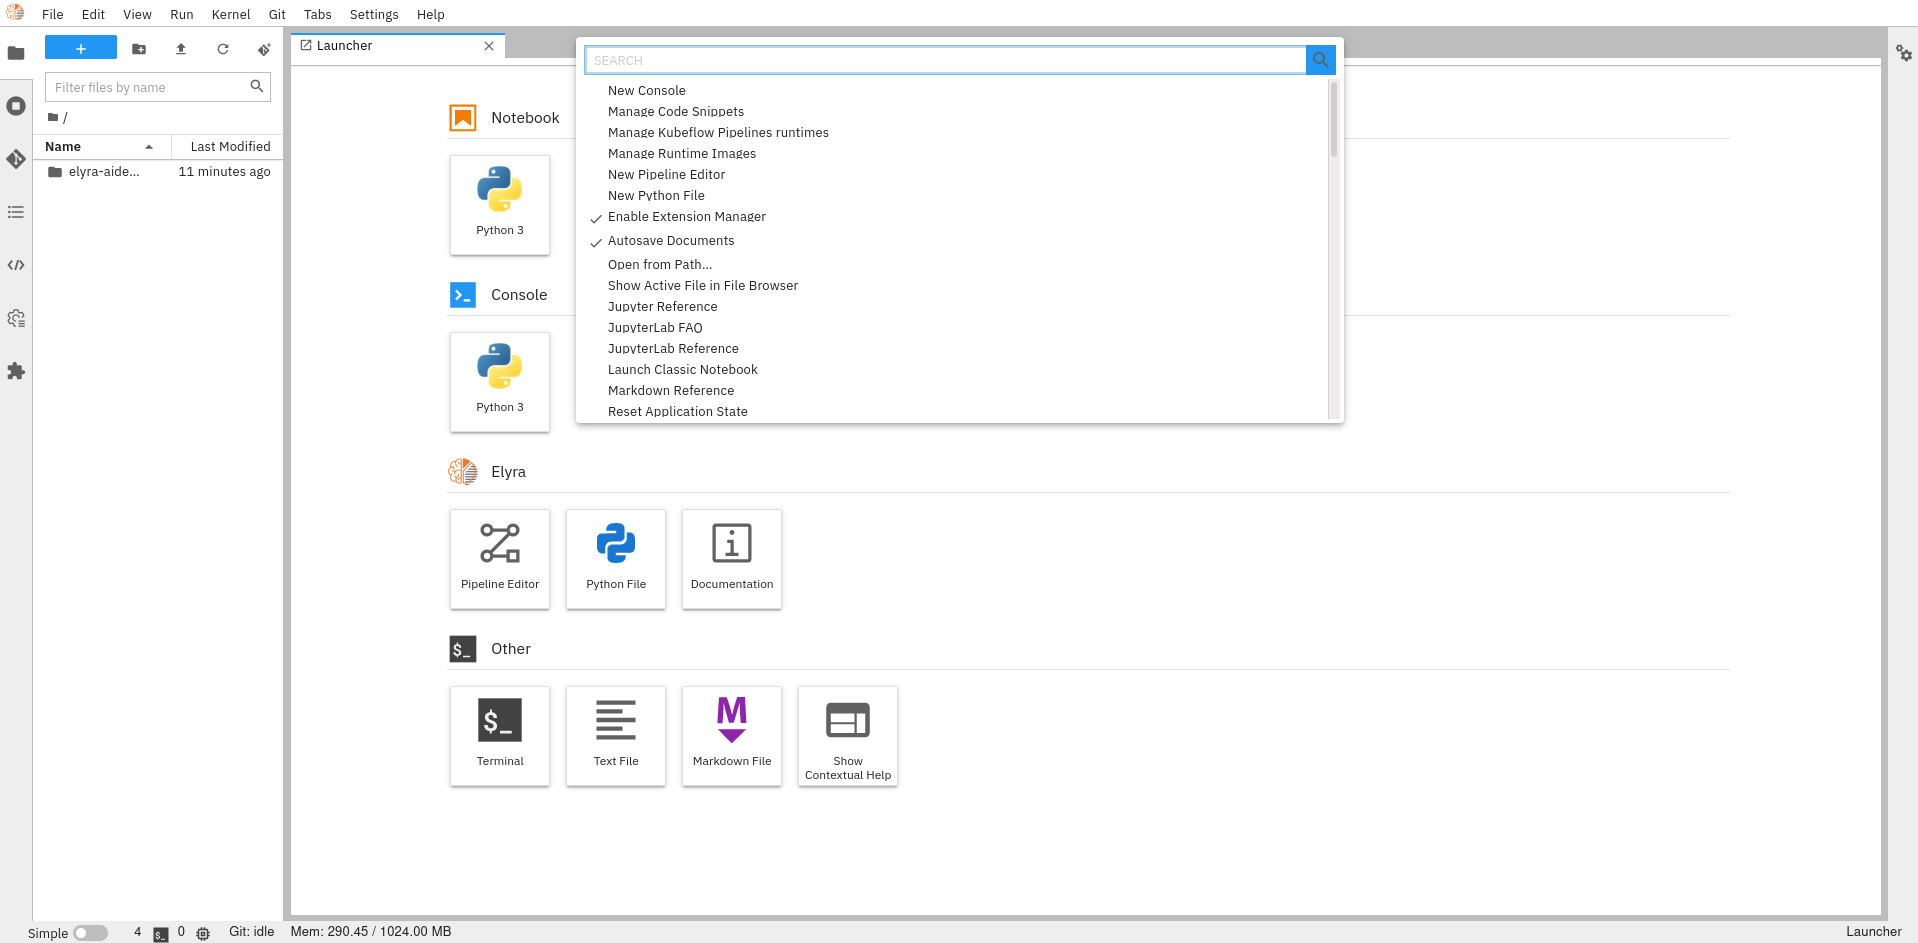
-
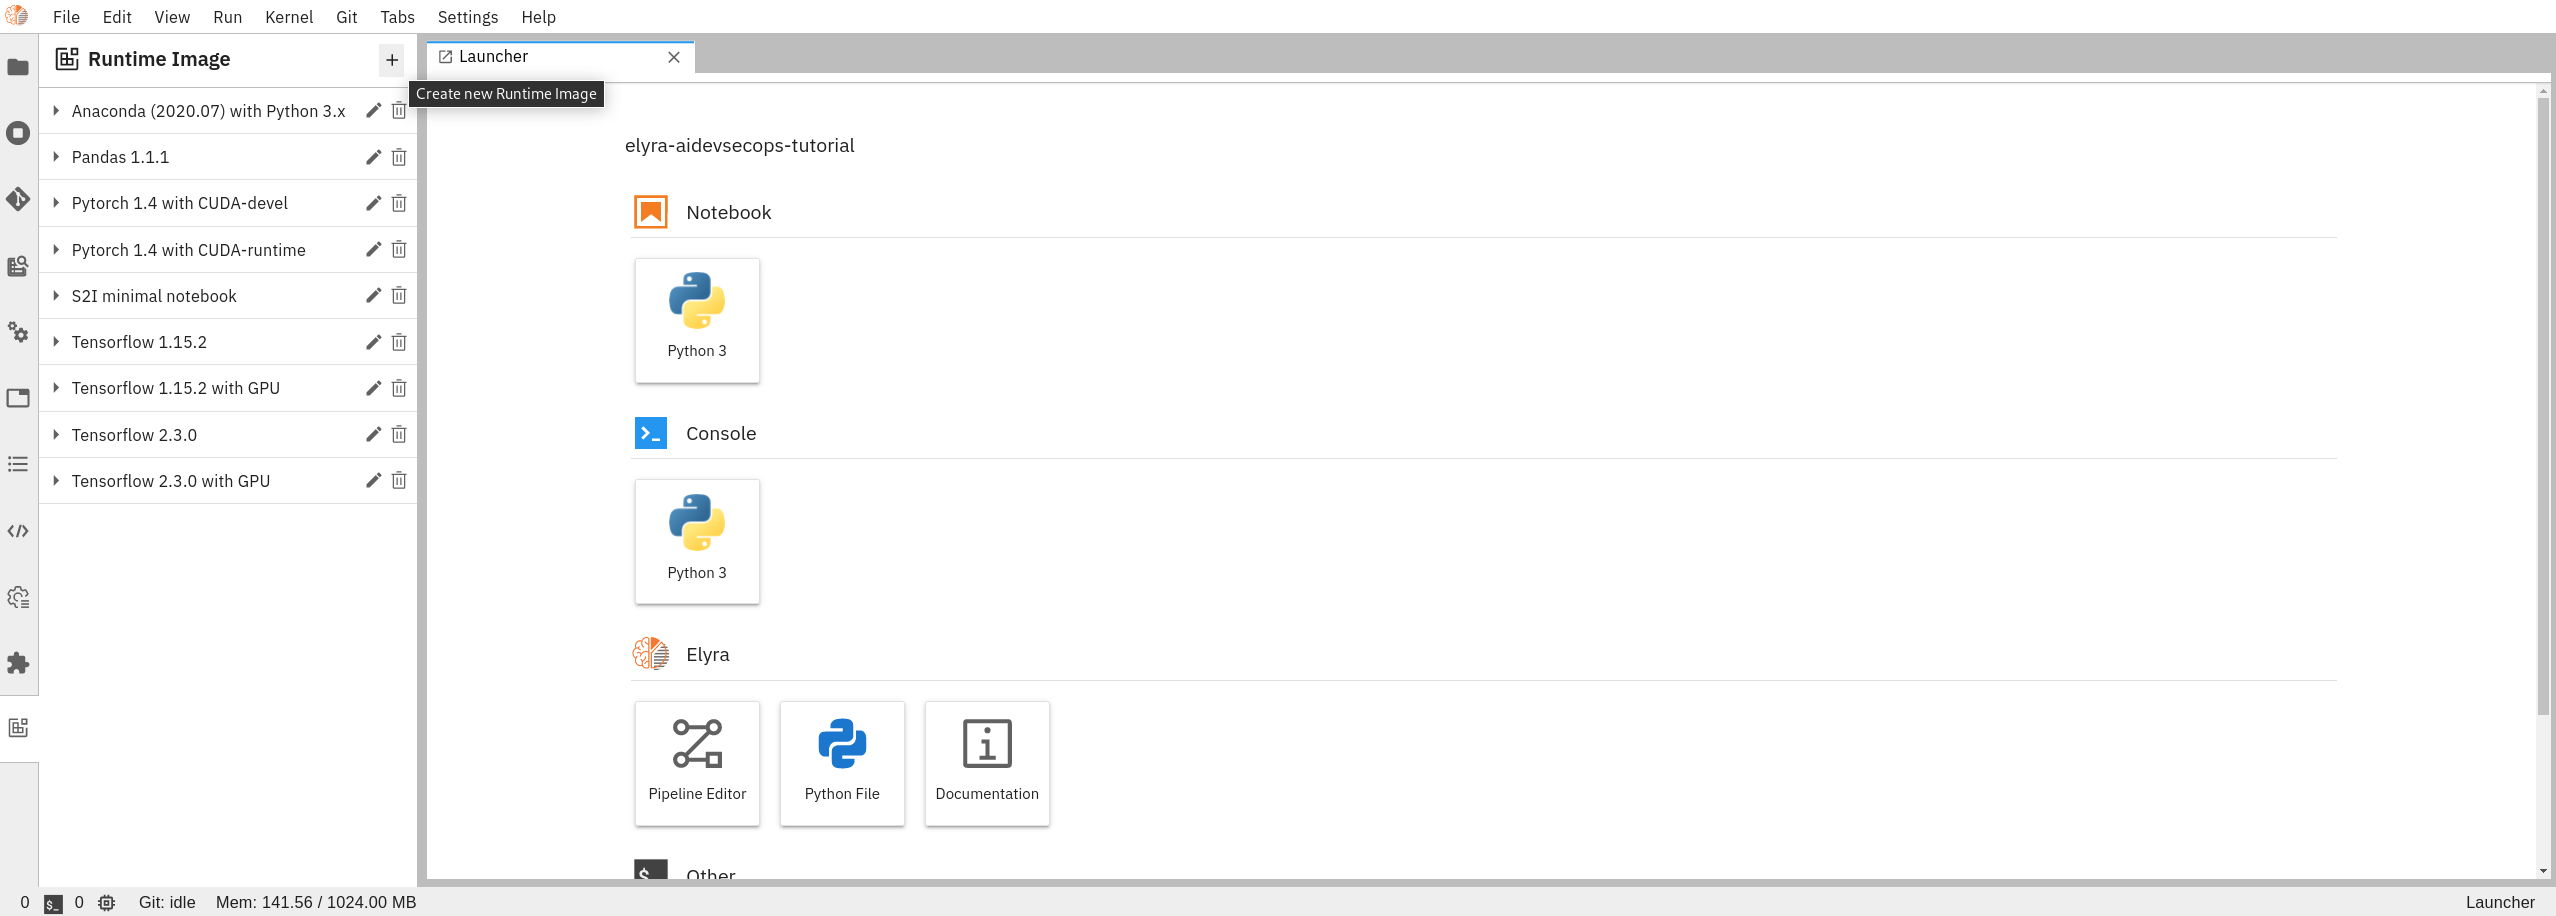
Once the new panel has been opened on the left of the UI, click add button to create new image.
-
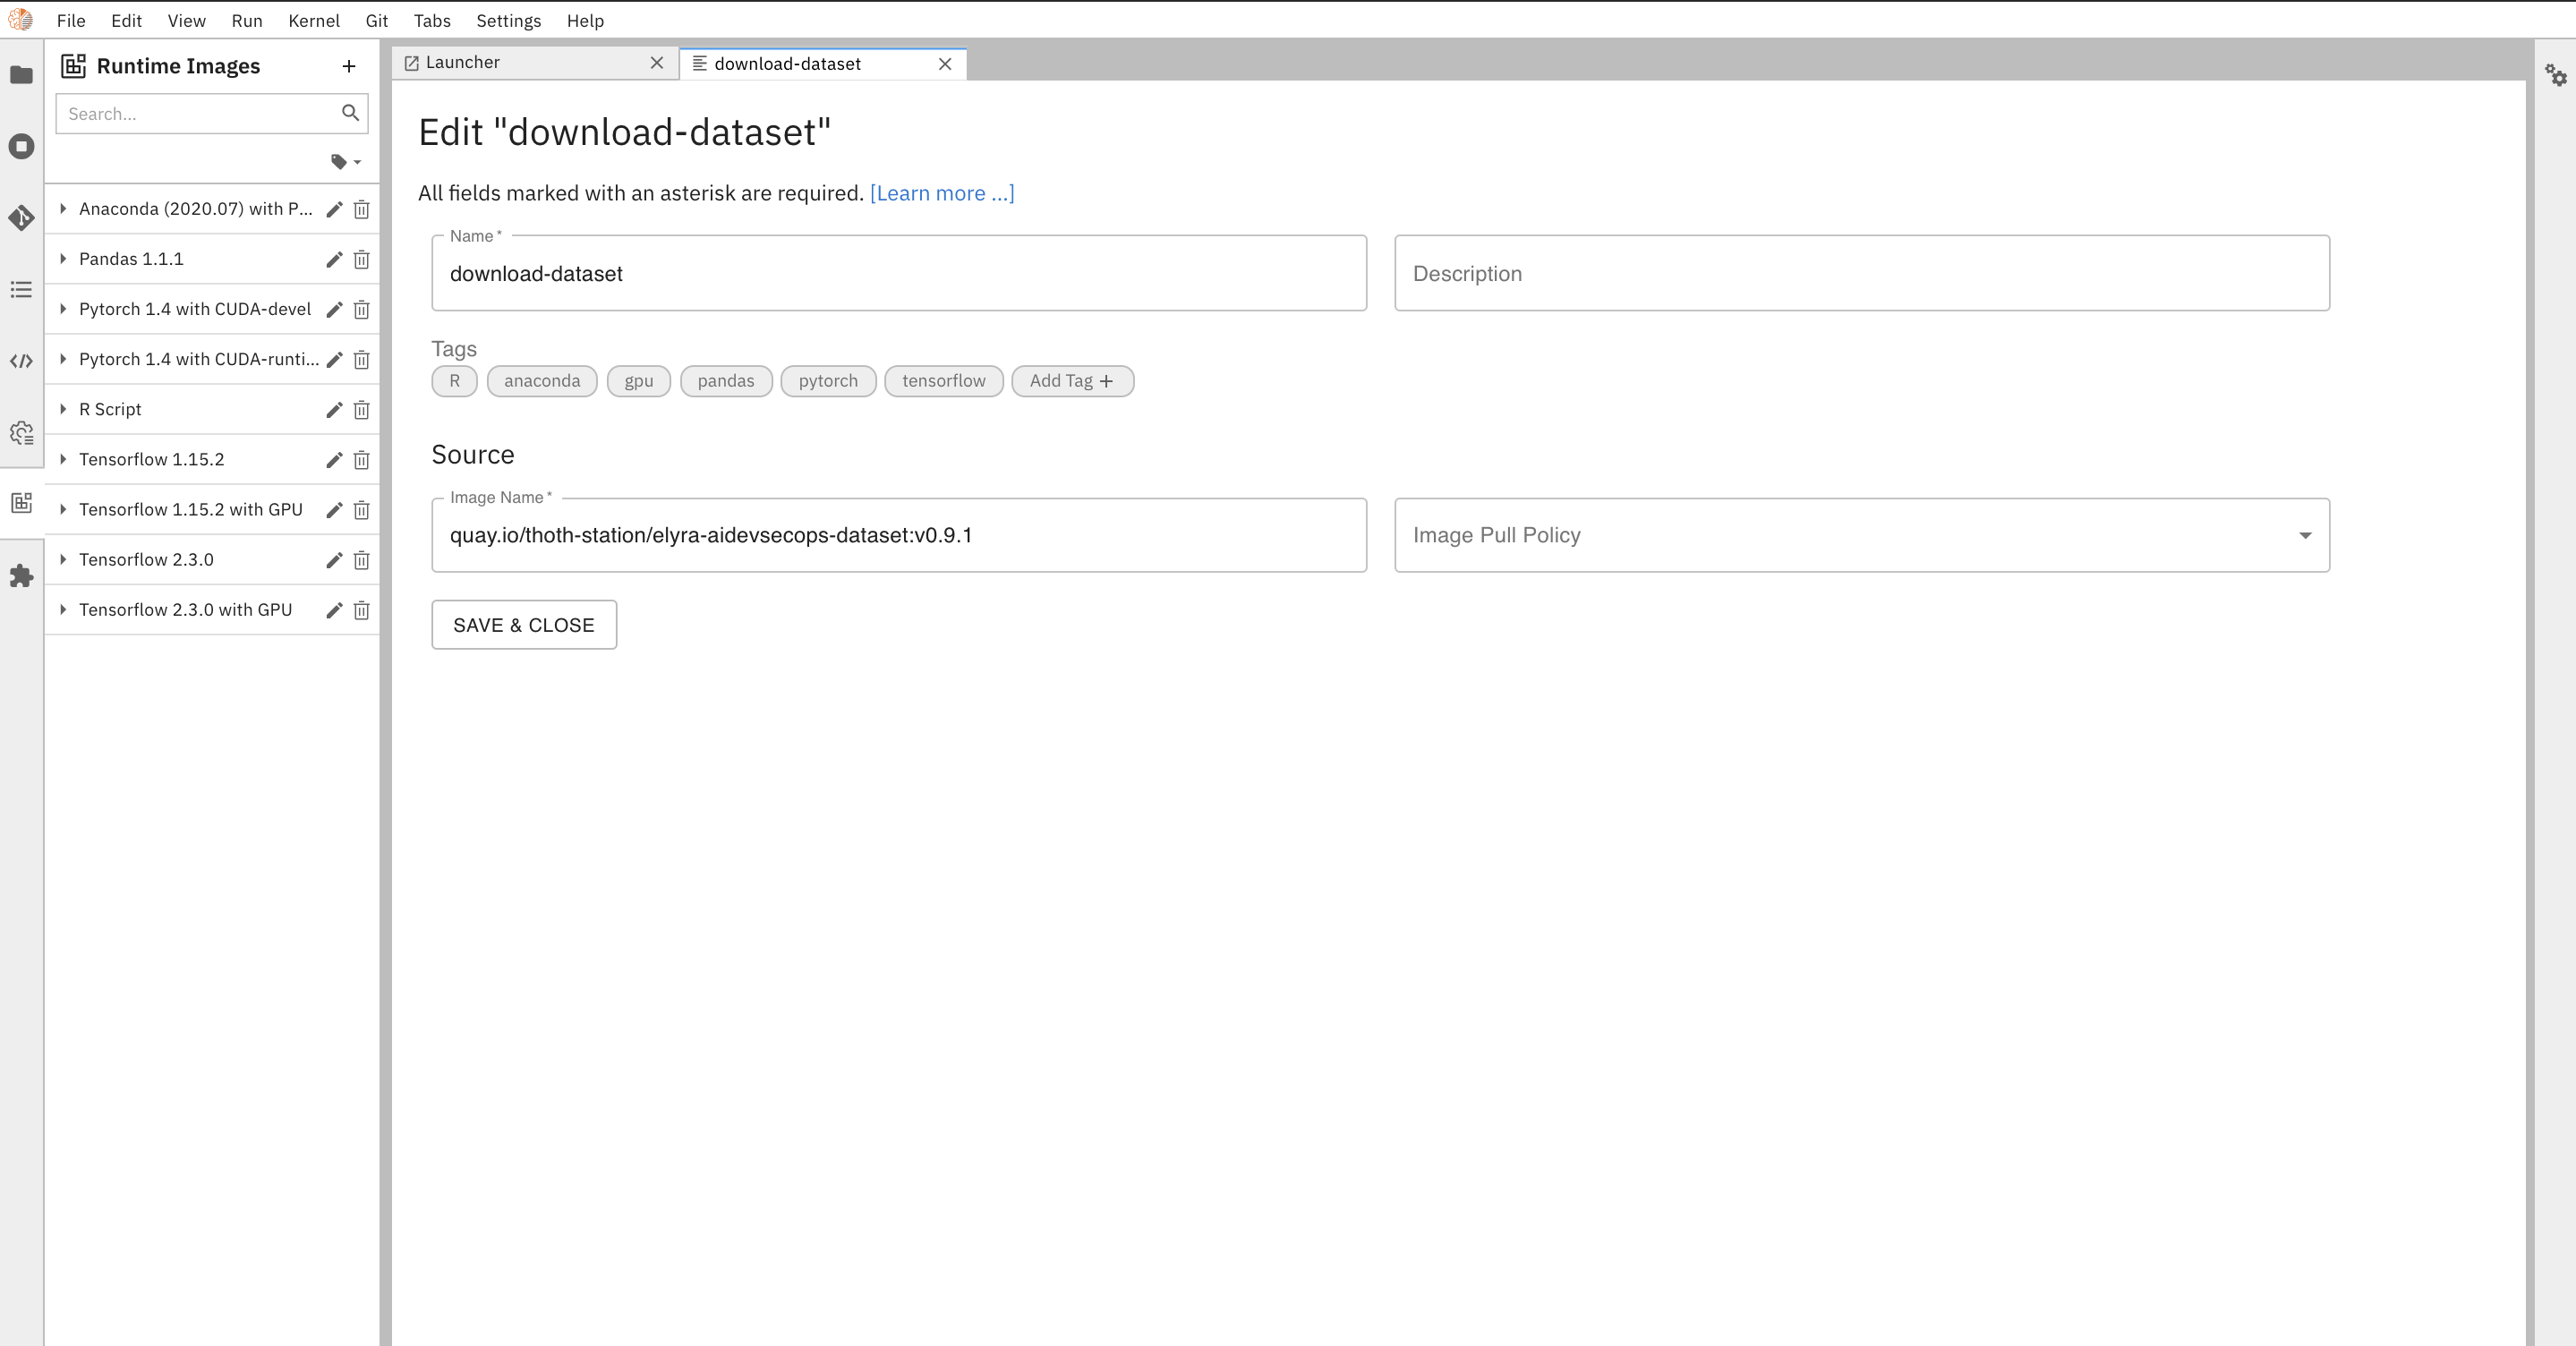
Fill all required fields to create image for download dataset step:
- Name:
Tutorial Download Dataset Step - Image Name:
quay.io/thoth-station/elyra-aidevsecops-dataset:v0.11.0
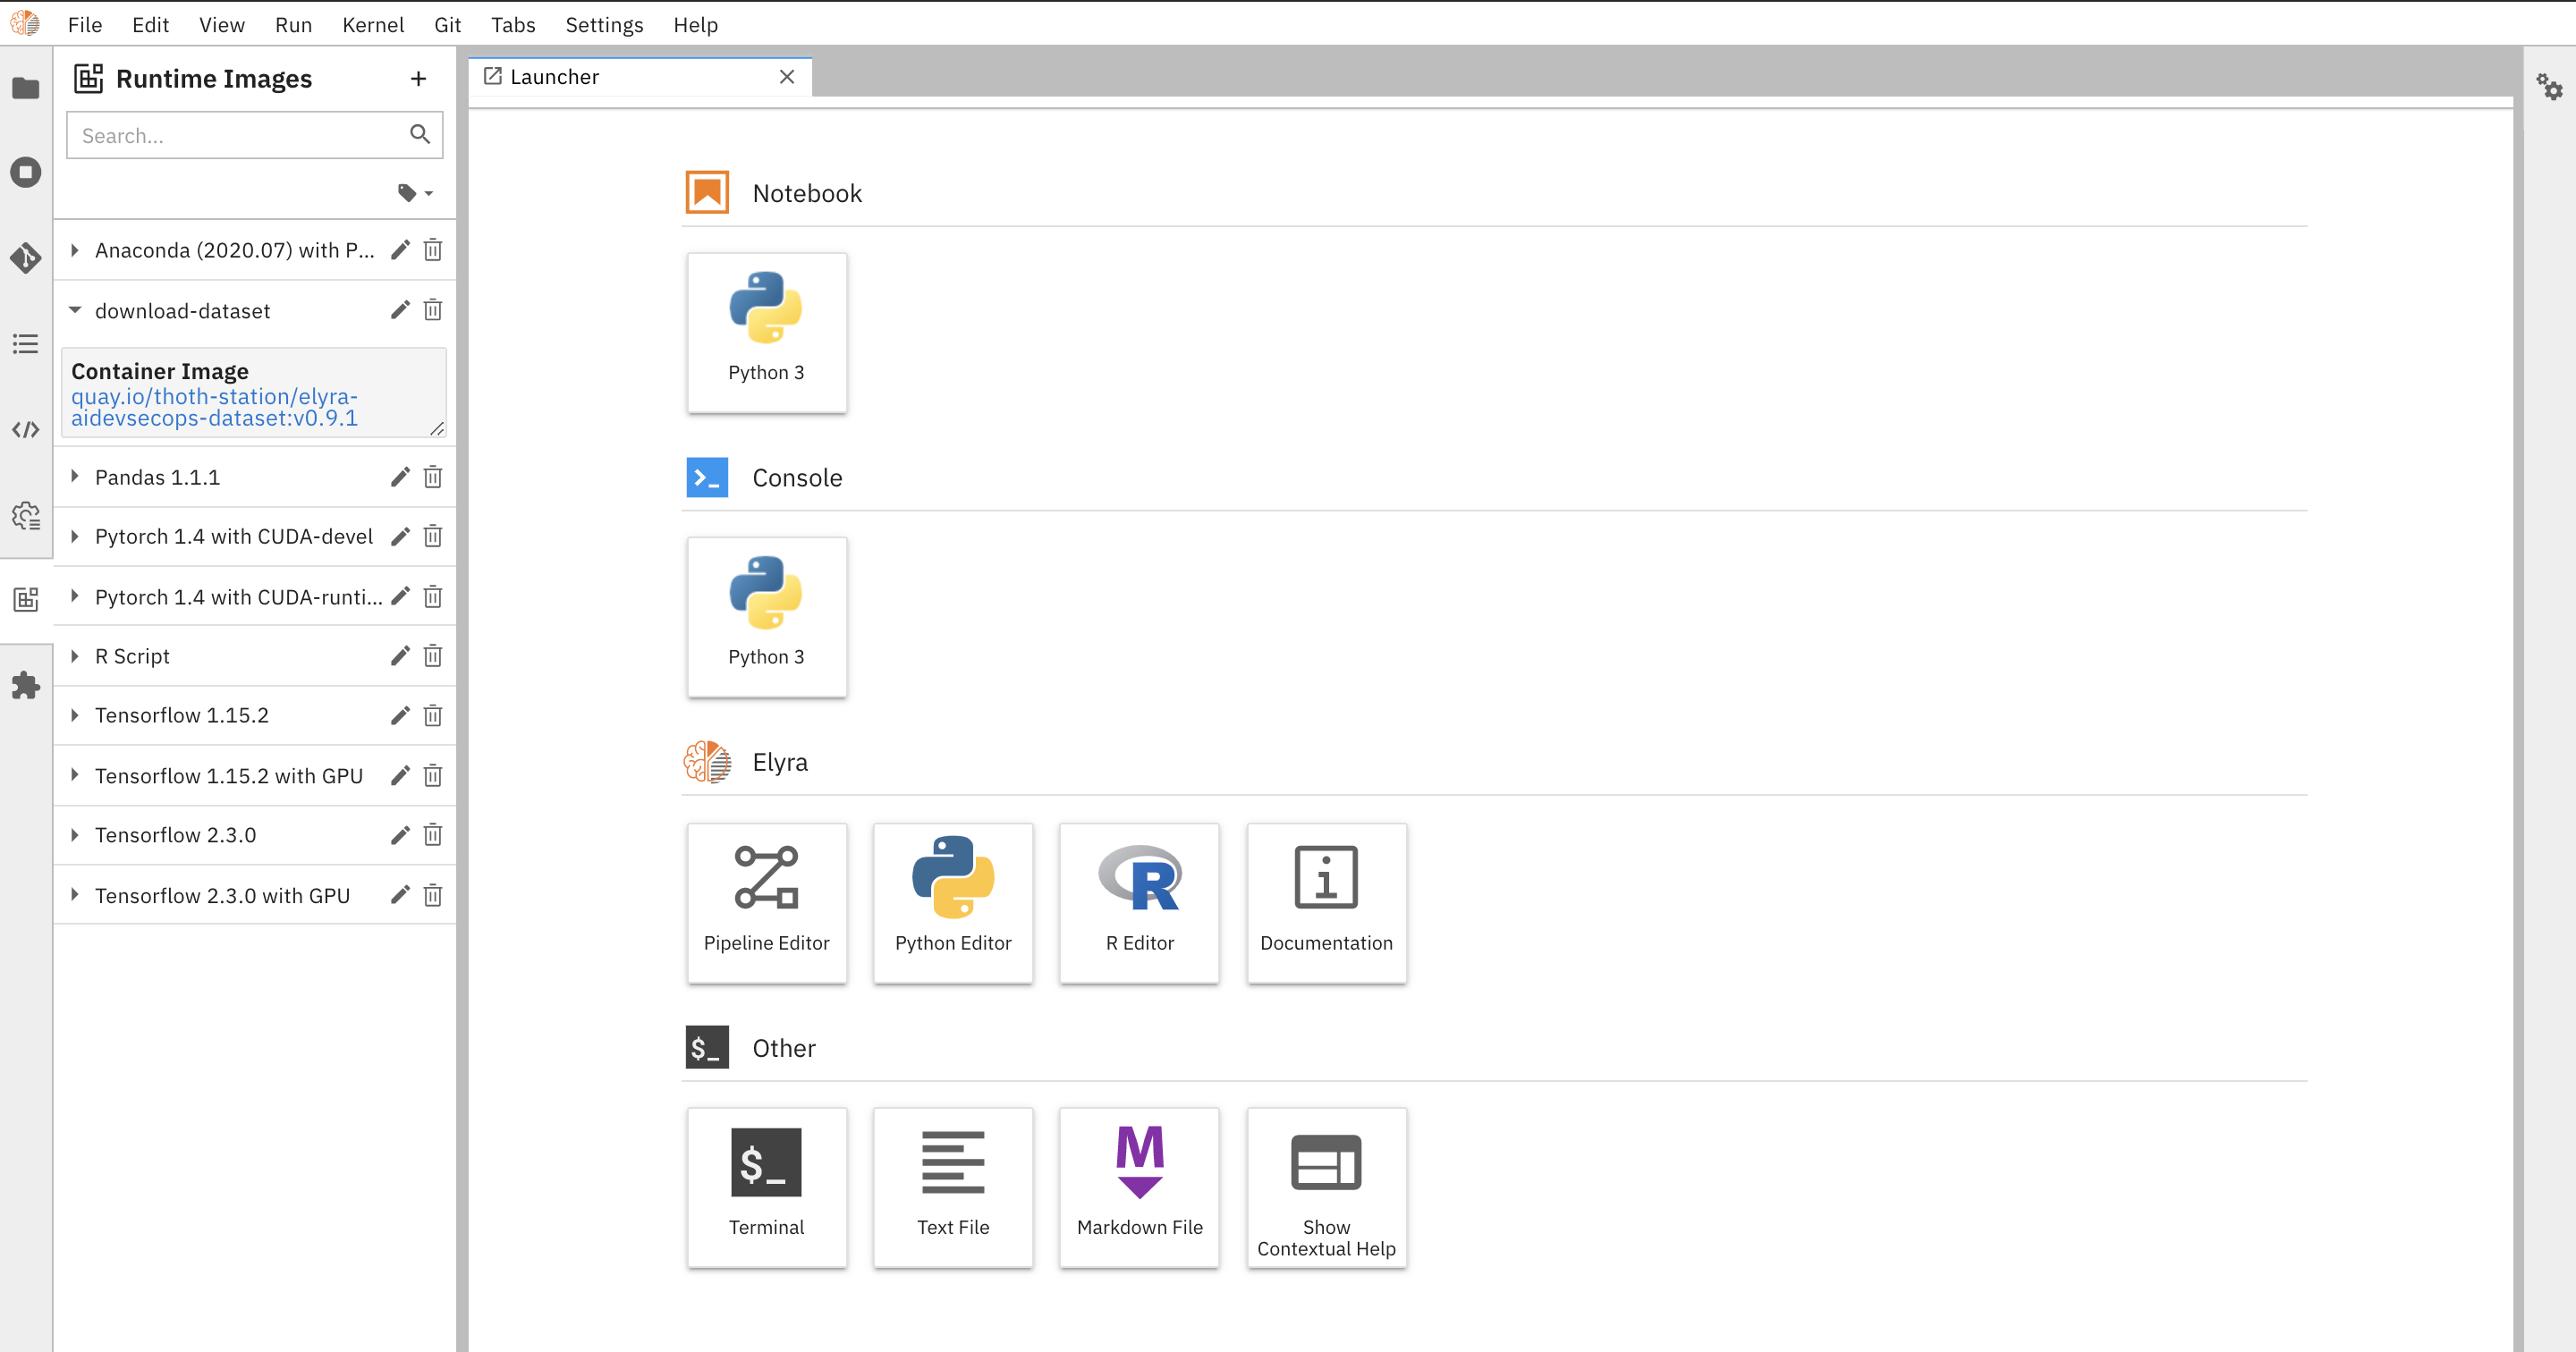
The image is now available and can be used into your AI pipeline
- Name:
-
Repeat steps 2, 3 to add
trainingimage using the following inputs:- Name:
Tutorial Training Step - Image Name:
quay.io/thoth-station/elyra-aidevsecops-training:v0.11.0
- Name:
Add runtime images (using CLI)
If you are more familiar with using CLI from the terminal you can use the following steps to create a runtime to run an AI Pipeline.
- Open Terminal in JupyterLab
-
Run the following command with your specific inputs:
elyra-metadata install runtime-images --display_name="Tutorial Training Step" --description="Training Step Tutorial" --image_name="quay.io/thoth-station/elyra-aidevsecops-training:v0.10.0"
To learn more about adding runtime images, check the following link.
Create runtime to be used in Kubeflow pipeline (using UI)
We also need to create a Kubeflow Pipeline Runtime configuration. This is configuration adds any additional information to the pipeline metadata that it will need to run on the external Kubeflow Pipeline instance and access any other data that may be required. This includes the KubeFlow endpoint and cloud object storage secrets.
-
Select the Kubeflow Pipeline Runtime Tab on the left panel of Jupyterlab UI or use the command palette (Cntrl + Shift + C) and select
"Manage Kubeflow Pipelines Runtimes".NOTE: There is a button to view Runtimes in the menu tab and in the pipeline editor as well.
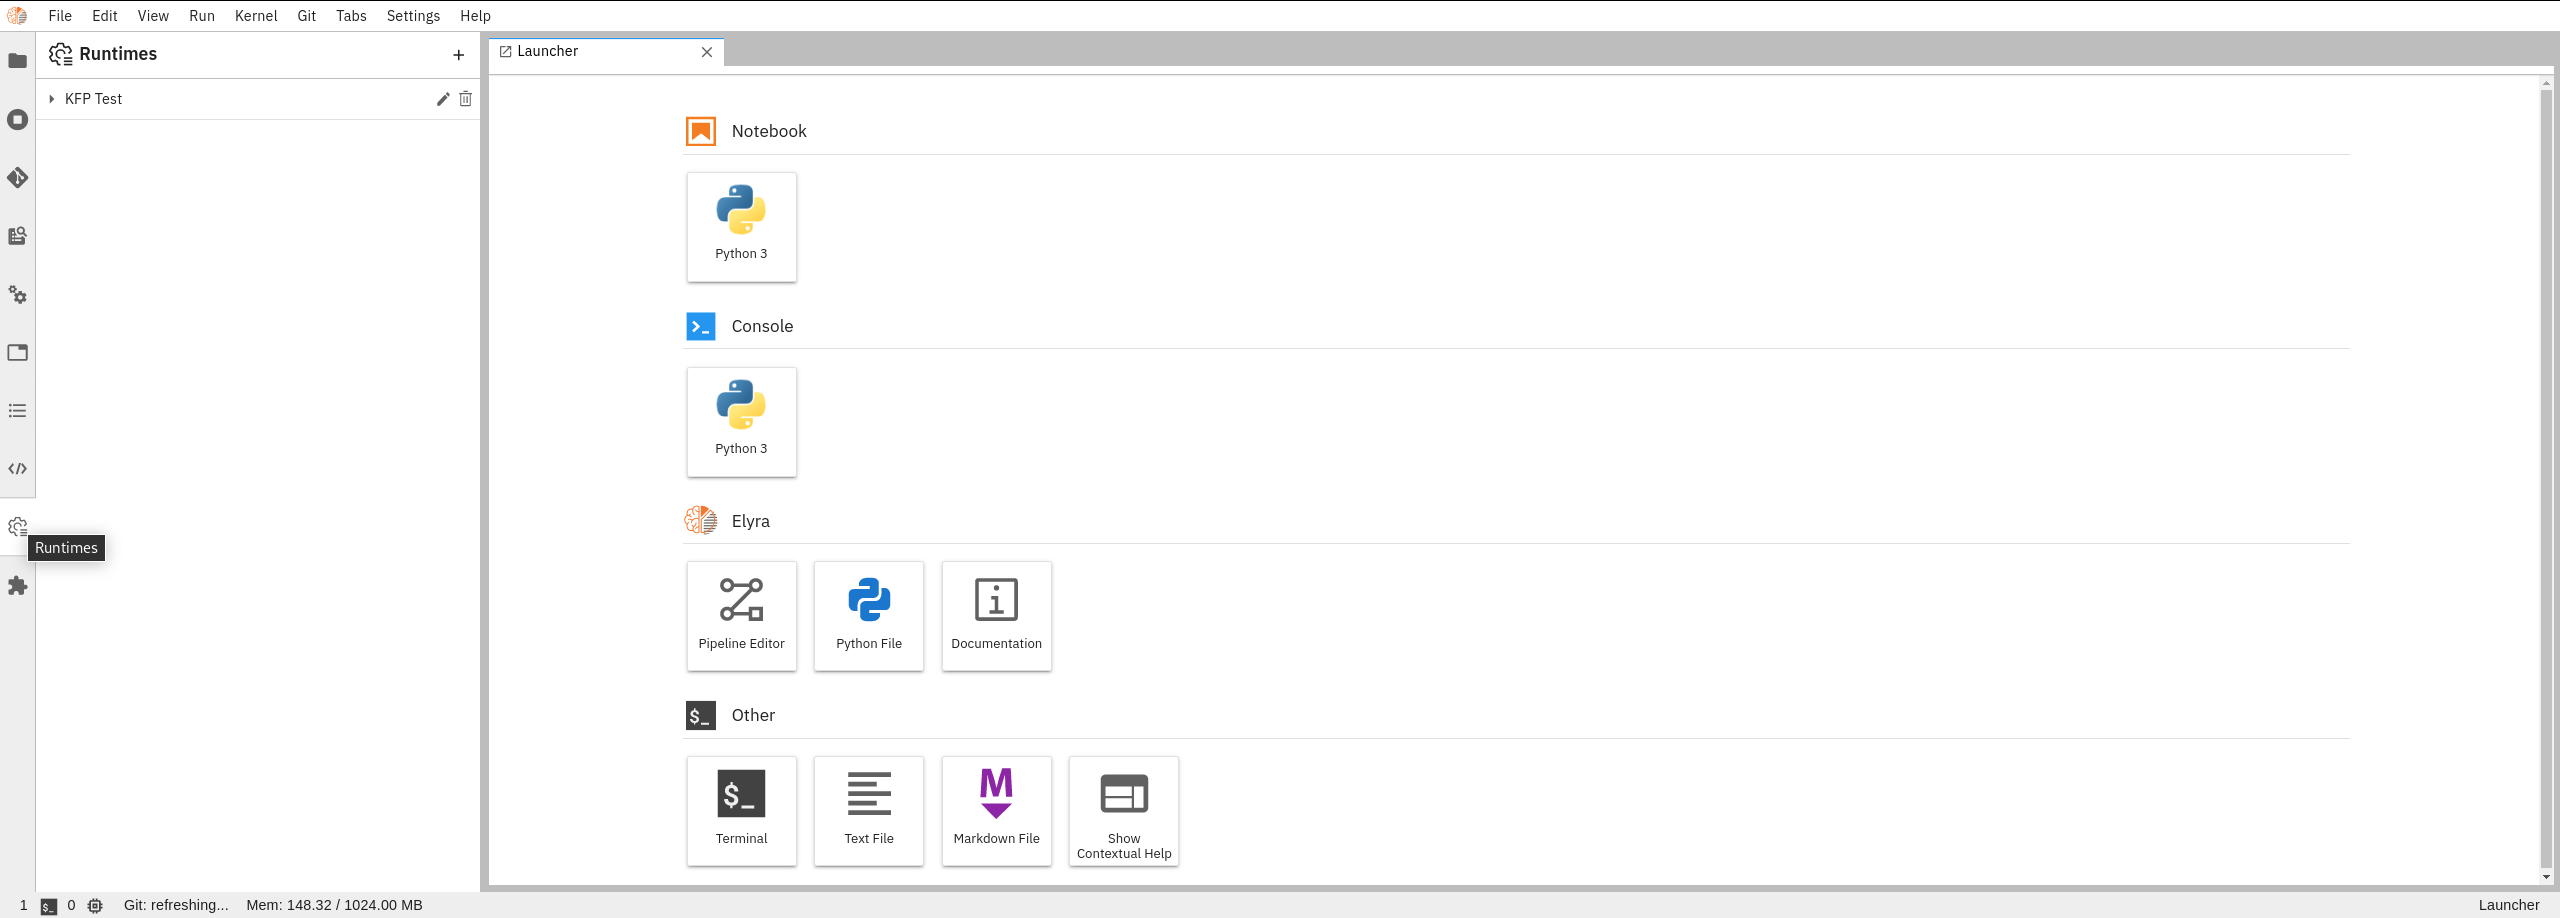
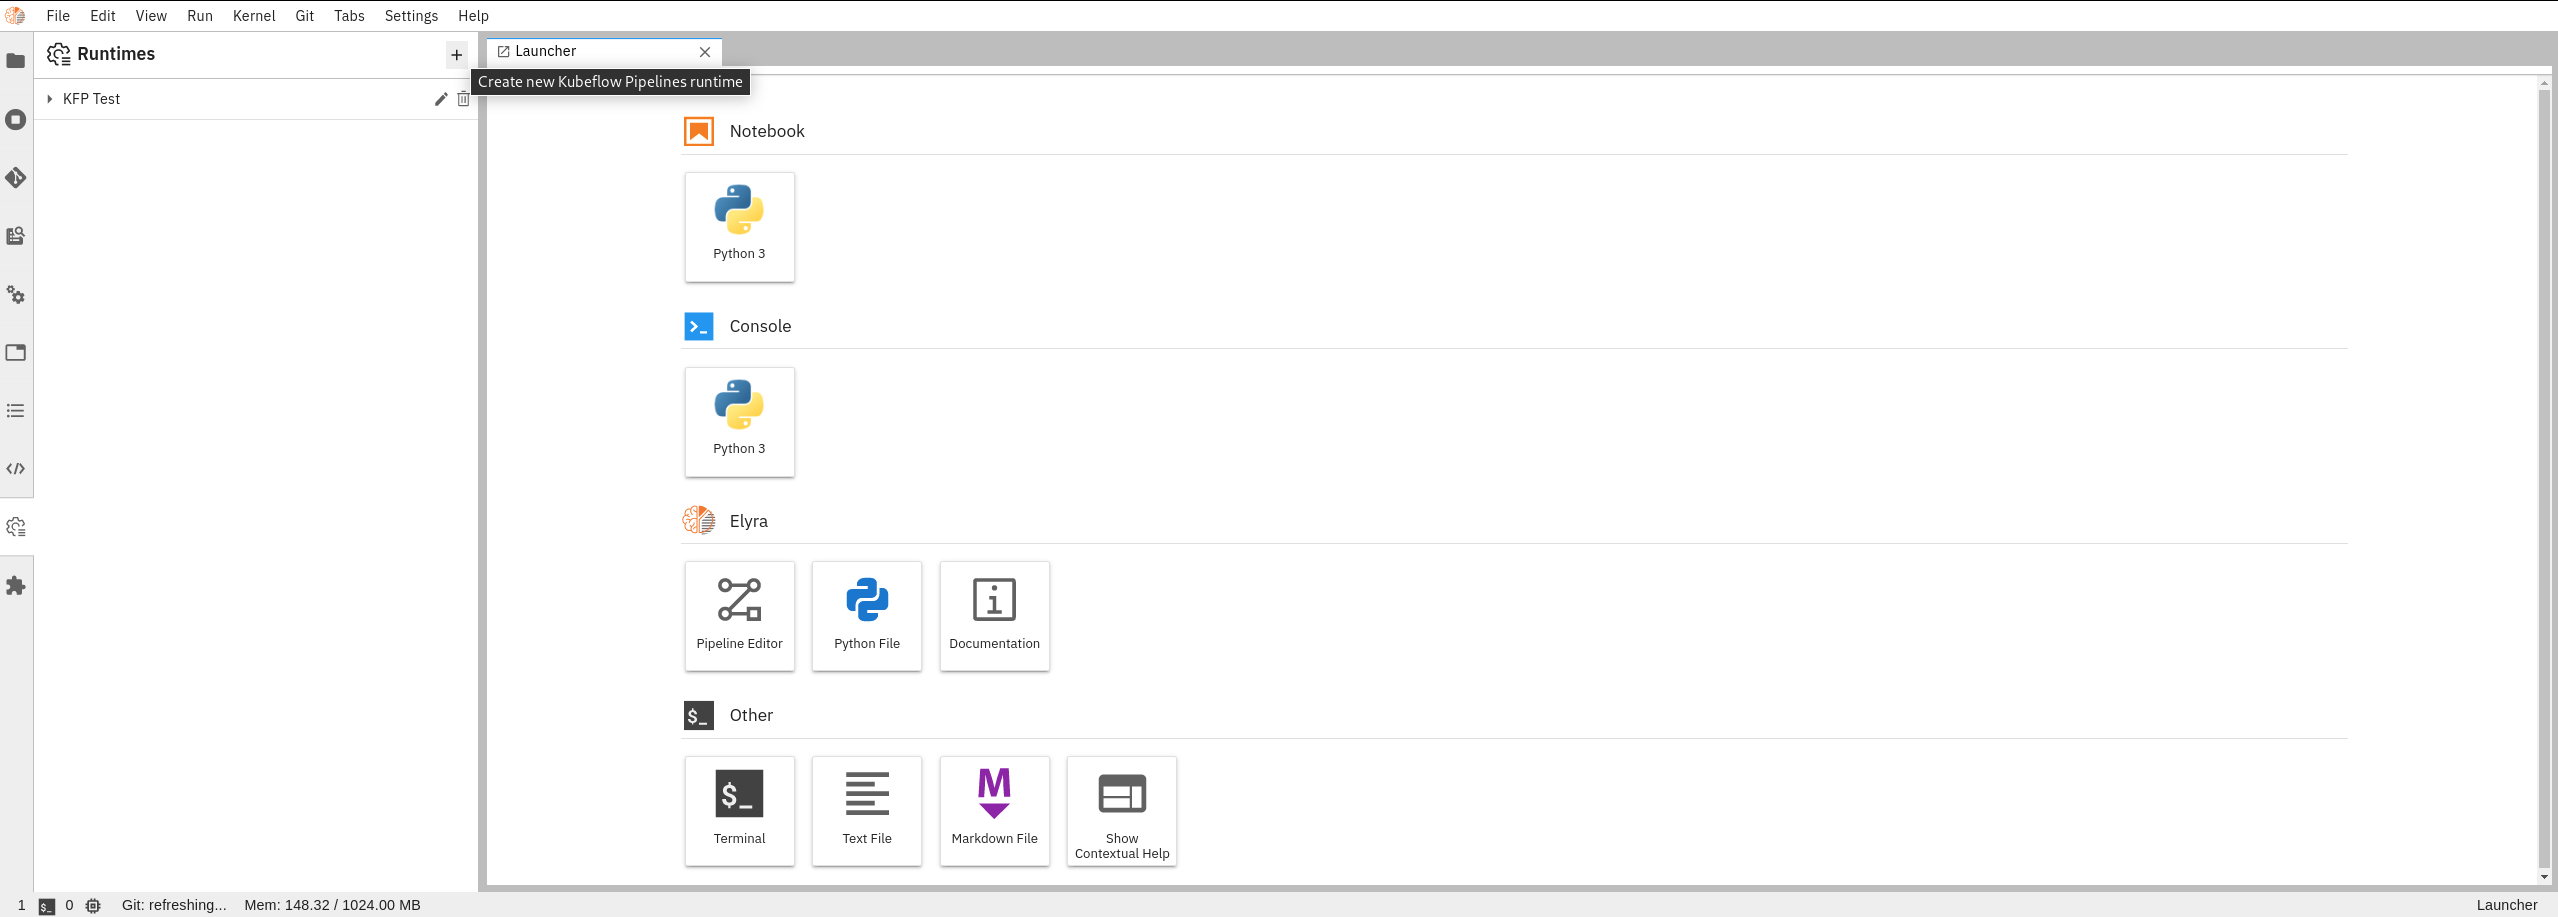
-
Once the new panel has been opened on the left of the UI, click add button to create new Kubeflow Pipeline Runtime
-
Insert all inputs for the Runtime:
- Name:
Elyra AIDevSecOps Tutorial - Kubeflow Pipeline API Endpoint:
http://istio-ingressgateway-istio-system.apps.zero.massopen.cloud/pipeline - Kubeflow Pipeline Engine:
Tekton - Cloud Object Storage Endpoint:
OBJECT_STORAGE_ENDPOINT_URL - Cloud Object Storage Username:
AWS_ACCESS_KEY_ID - Cloud Object Storage Password:
AWS_SECRET_ACCESS_KEY - Cloud Object Storage Bucket Name:
OBJECT_STORAGE_BUCKET_NAME
where
AWS_ACCESS_KEY_ID,AWS_SECRET_ACCESS_KEY,OBJECT_STORAGE_ENDPOINT_URL,OBJECT_STORAGE_BUCKET_NAMEare specific to the user cloud object storage selected.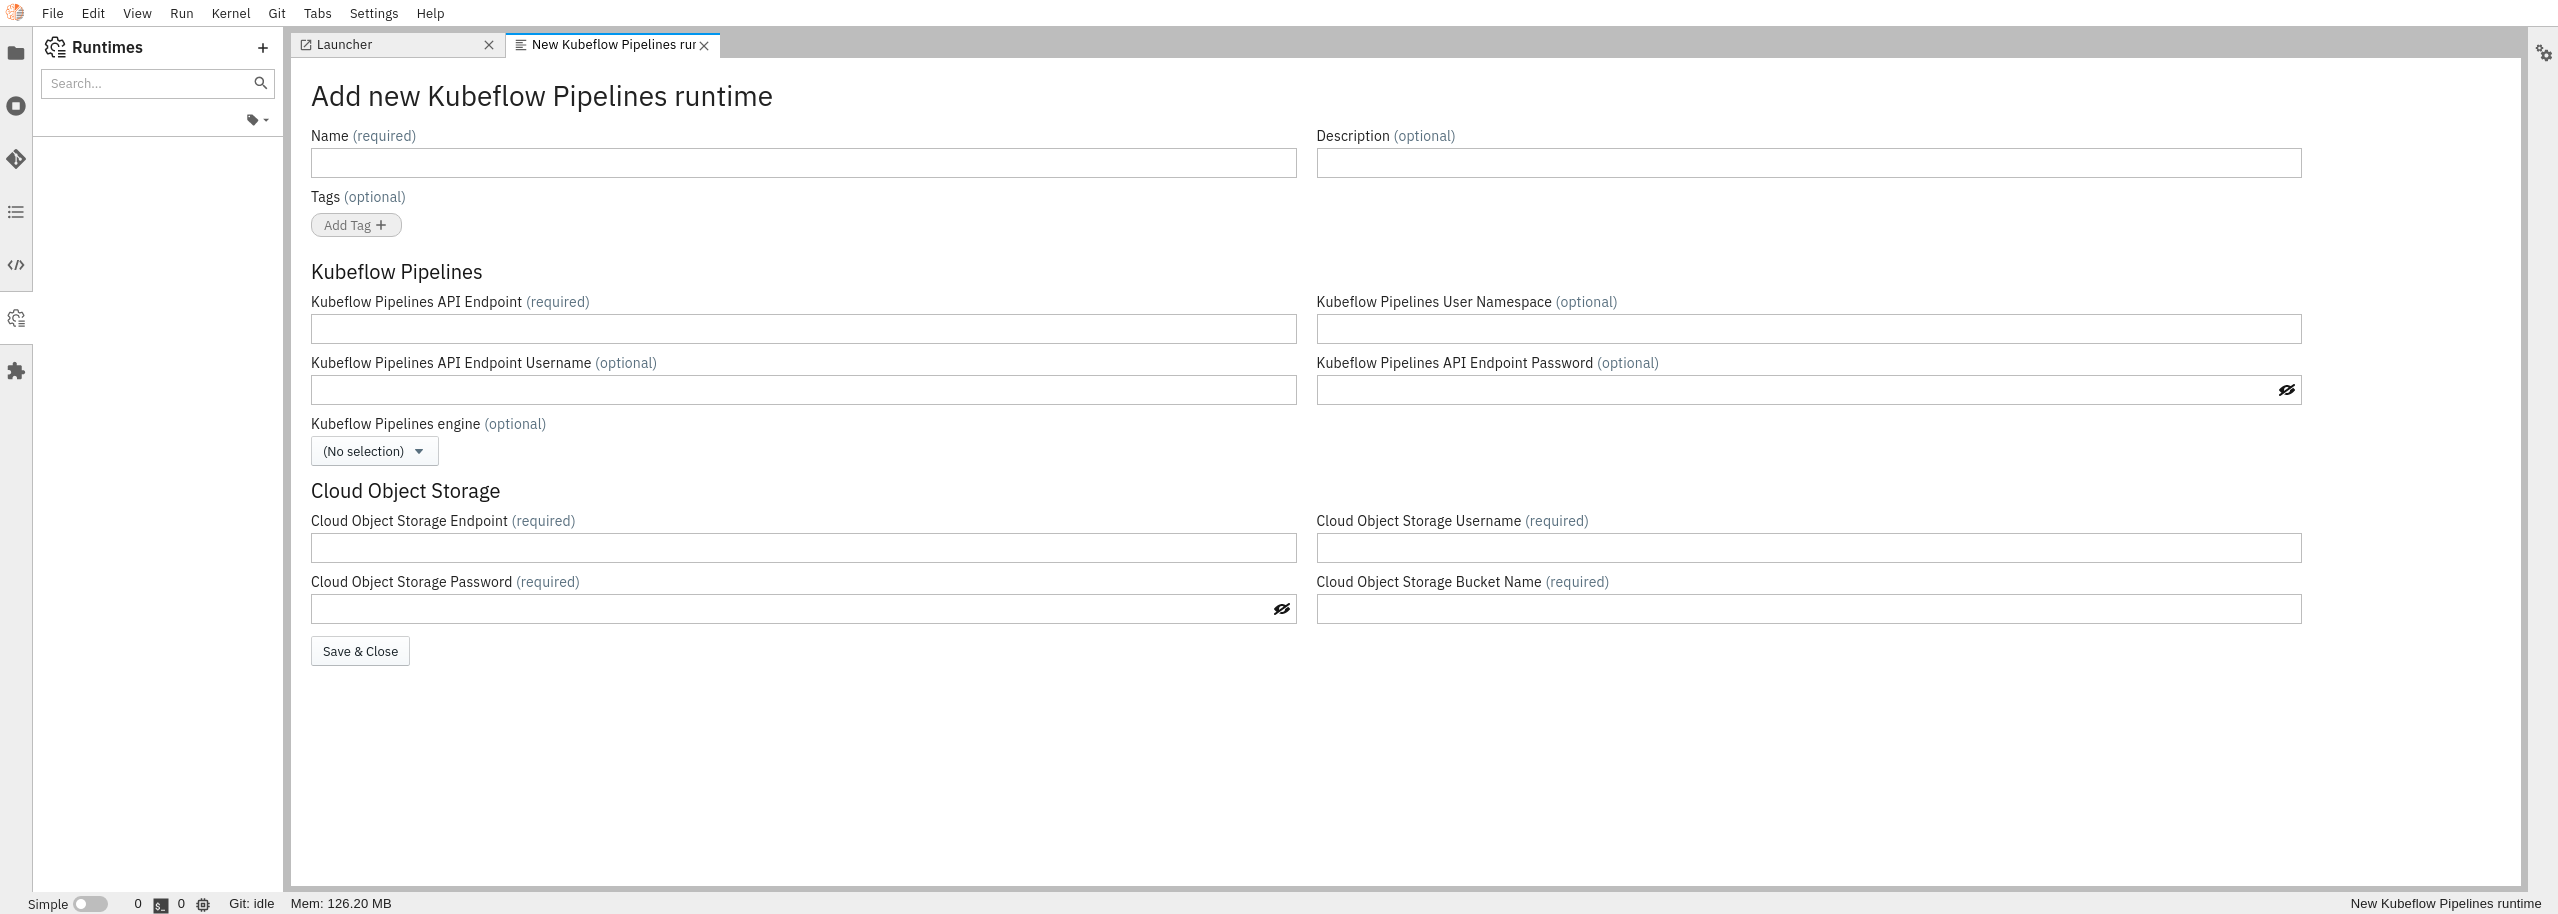
⚠️ Please note, if you’re using a secure bucket, to avoid exposing your Cloud Object Storage credentials, you can use the
Cloud Object Storage Credentials Secretwhich is a Kubernetes secret that’s defined in the Kubeflow namespace, containing the Cloud Object Storage username and password. This secret must exist on the Kubernetes cluster hosting your pipeline runtime in order to successfully execute pipelines.Refer to this template for an example of how to define your secret on the Kubernetes cluster hosting your runtime.
We have a secret defined on the Operate First Kubeflow Namespace called
opf-datacatalog-bucketavailable for theopf-datacatalogbucket which can be used for theCloud Object Storage Credentials Secretfield if you are using theopf-datacatalogbucket here. - Name:
Create runtime to be used in Kubeflow pipeline (using CLI)
If you are more familiar with using CLI from the terminal you can use the following steps to create a runtime to run an AI Pipeline.
- Open Terminal in JupyterLab
-
Run the following command with your specific inputs (CLOUDOBJECTSTORAGEENDPOINT, CLOUDOBJECTSTORAGEUSERNAME, CLOUDOBJECTSTORAGEPASSWORD, CLOUDOBJECTBUCKETNAME):
elyra-metadata install runtimes --display_name="KFP operate first" --api_endpoint="http://istio-ingressgateway-istio-system.apps.zero.massopen.cloud/pipeline" --engine=Tekton --cos_endpoint=CLOUD_OBJECT_STORAGE_ENDPOINT --cos_username=CLOUD_OBJECT_STORAGE_USERNAME --cos_password=CLOUD_OBJECT_STORAGE_PASSWORD --cos_bucket=CLOUD_OBJECT_BUCKET_NAME
To learn more about creating a Kubeflow pipeline runtime, check the following link.
Create Elyra AI Pipeline using the UI
A pre-made pipeline called elyra-aidevsecops-tutorial.pipeline already exists at the root of the repository. You can directly start with the pre-made pipeline and jump to step 3 to make sure that the image runtime for each notebook is selected along with the desired Resources, Environment Variables and Output Files.
To create a new pipeline from scratch, go through the following steps:
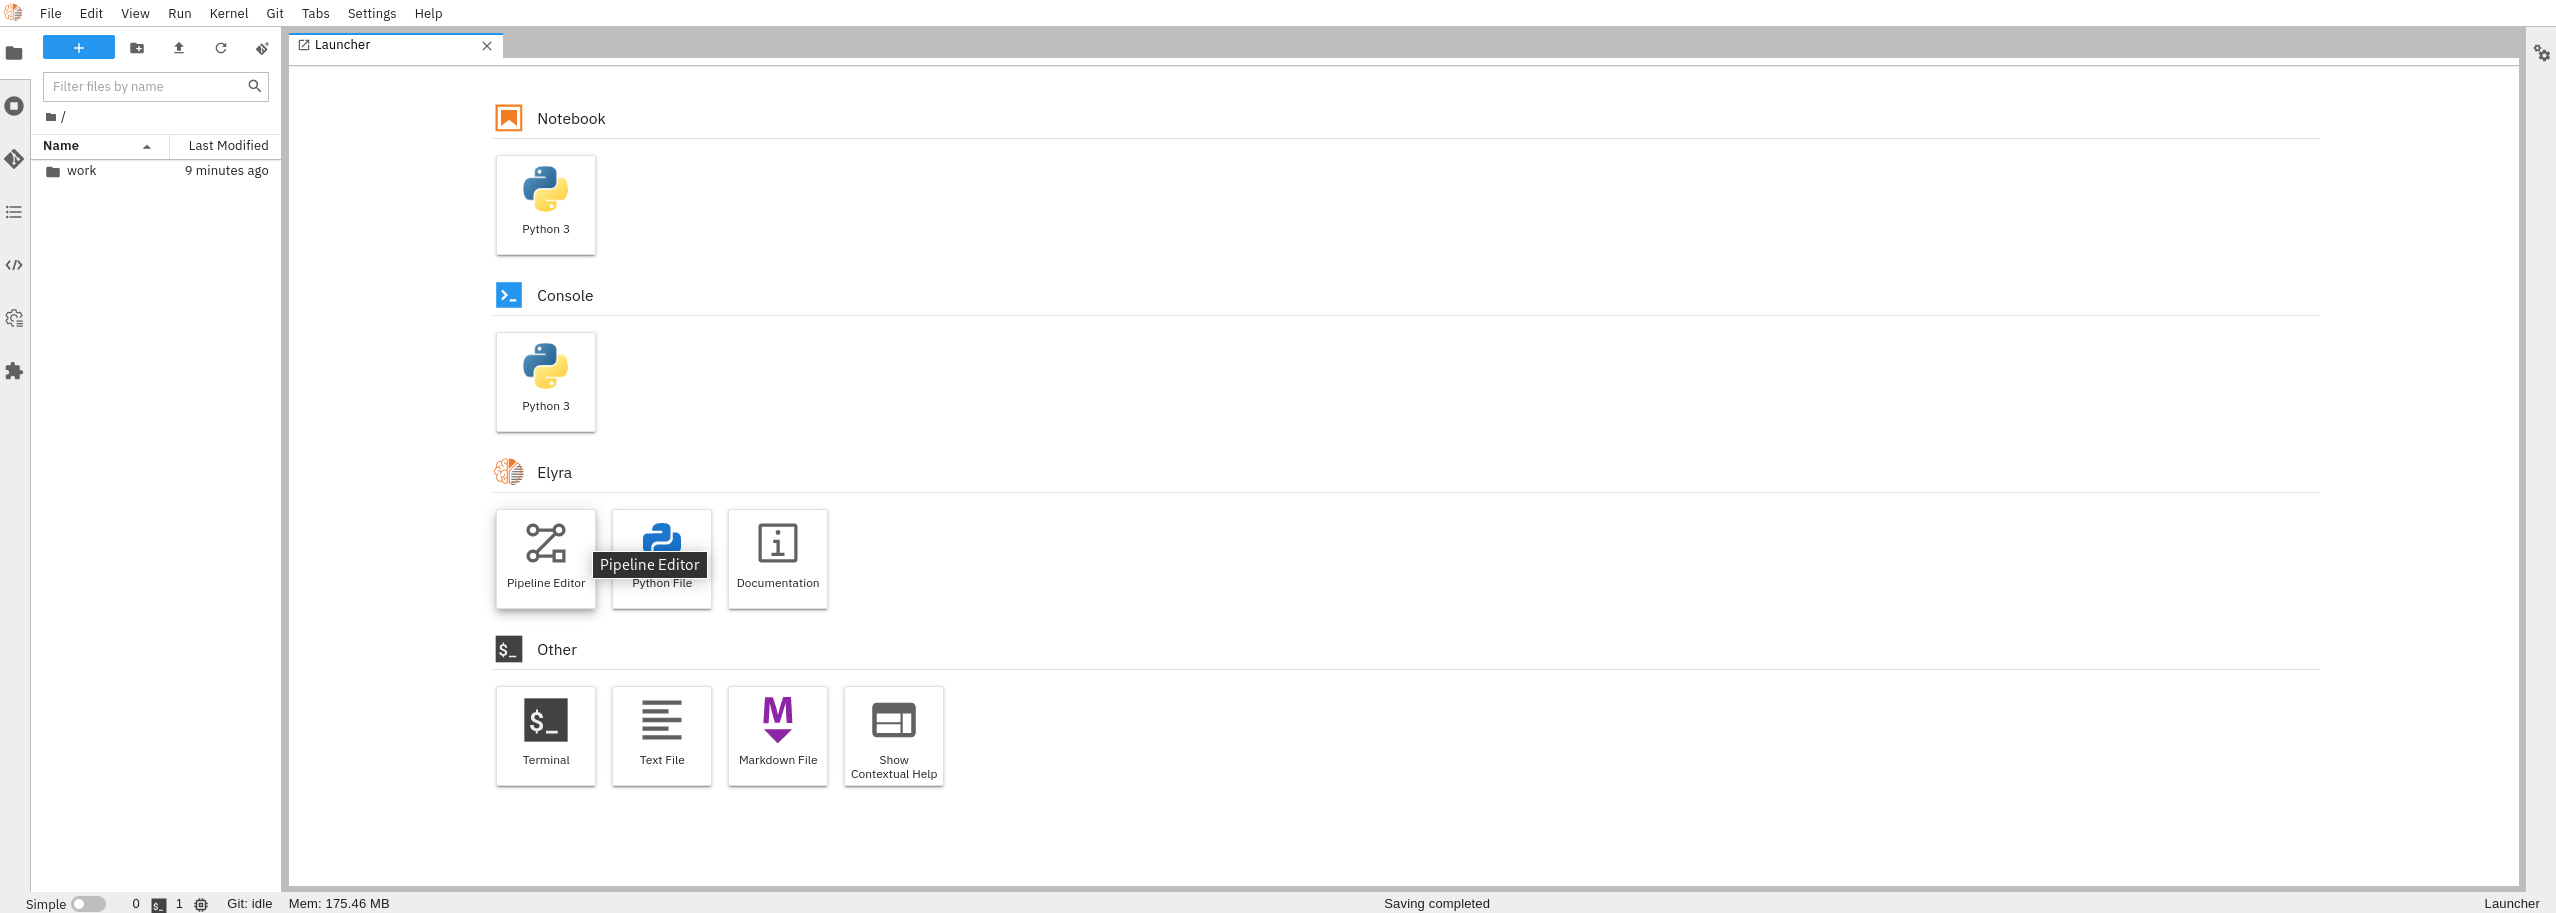
-
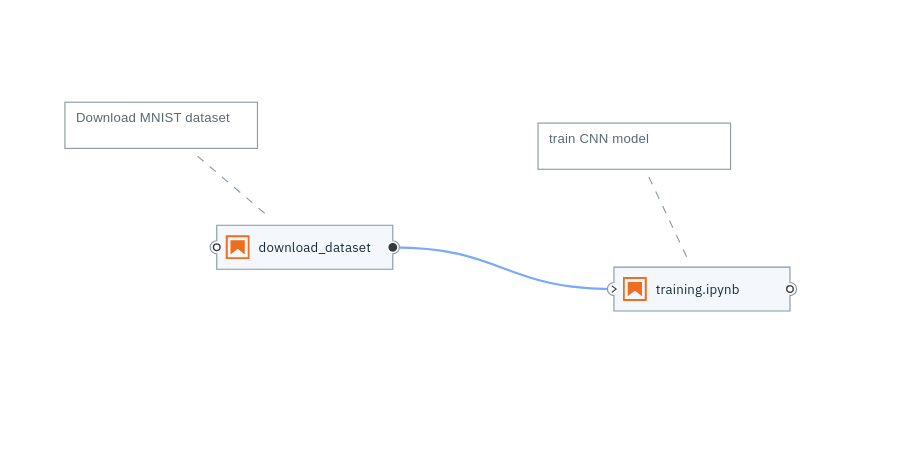
Open new Elyra Pipeline Editor
- Insert all steps you want, moving notebooks to the editor and connect them using Elyra UI.
-
Click on 3 dots on the node, or the notebook and go to
Propertiesto insert inputs for each step/notebook in terms of image runtime, environment variables, resources, file dependencies and output files.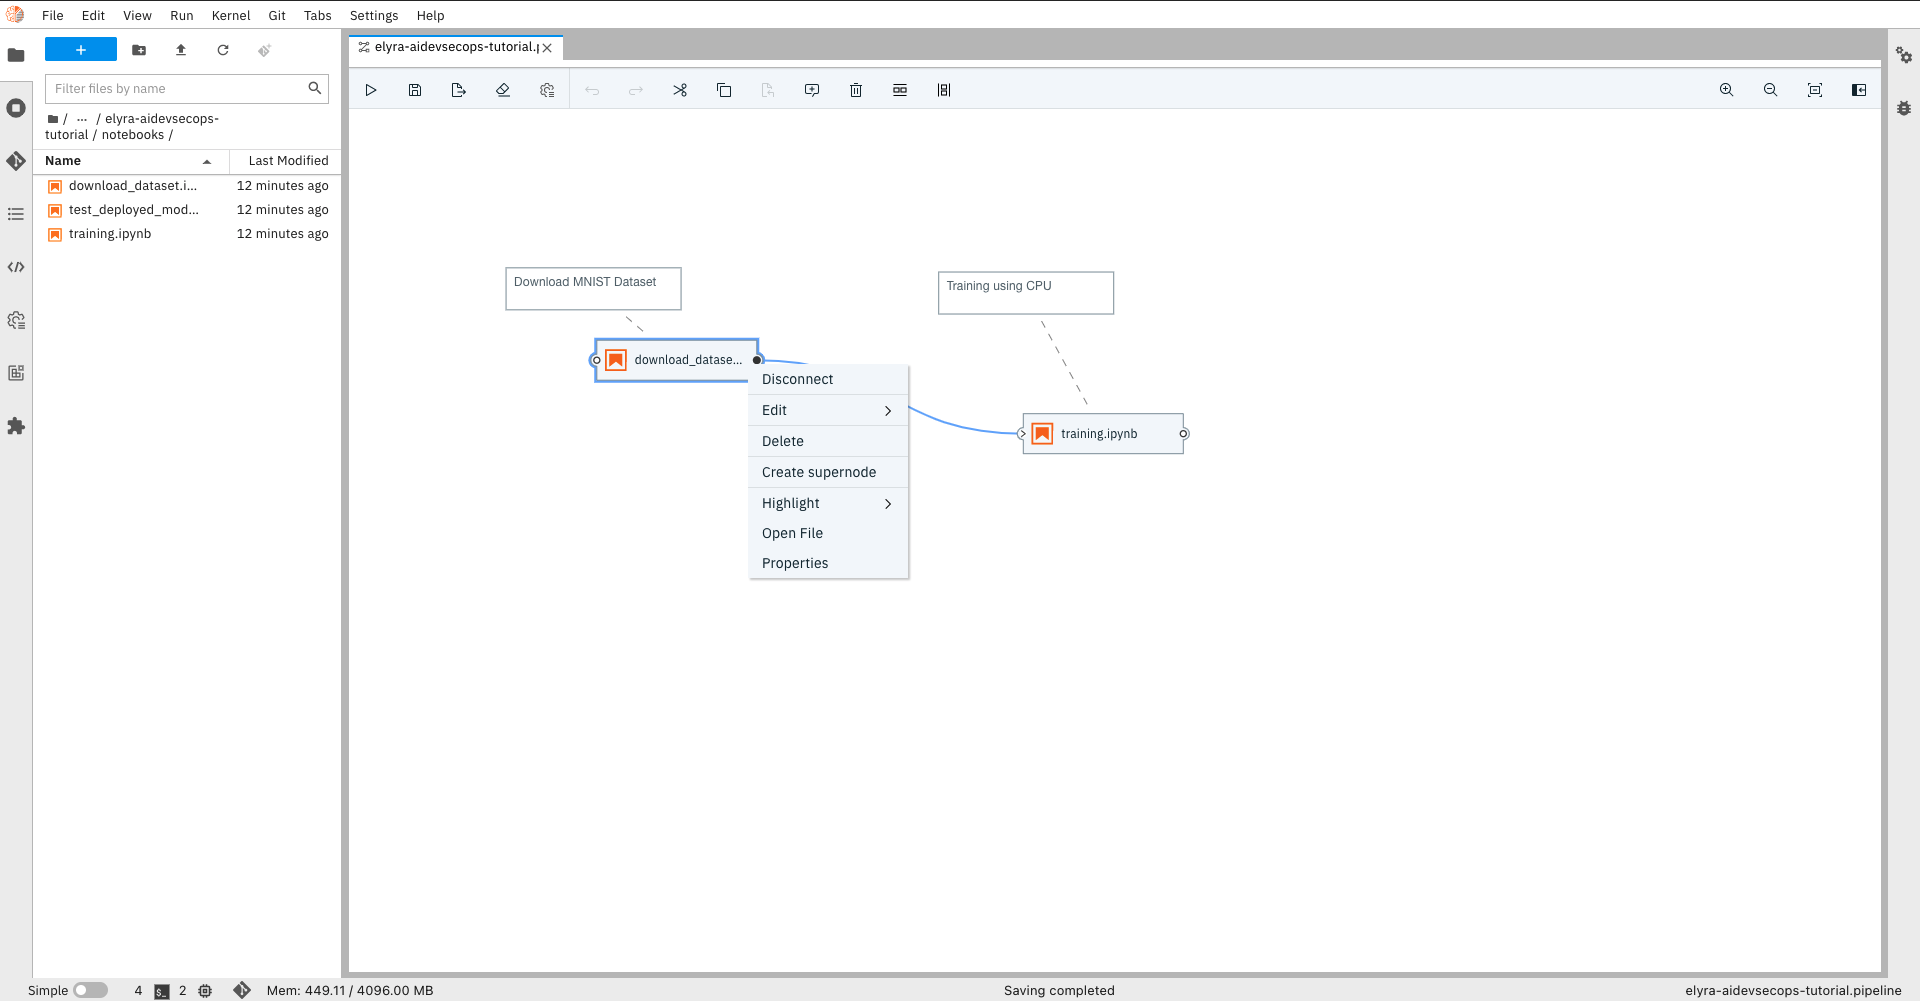
-
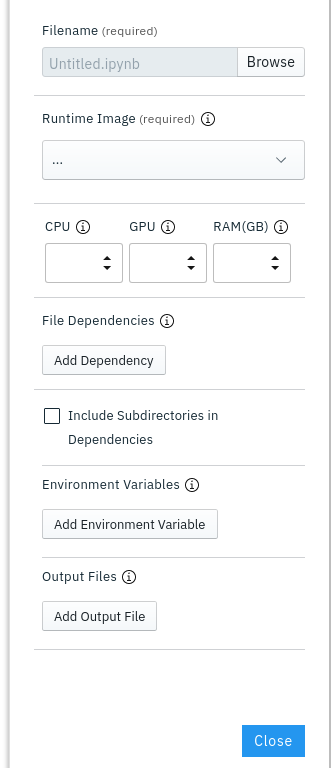
Here is what each field in the node properties can be used for:
- Filename: This is the name of the node. this would be pre-filled when selecting a script or a notebook’s properties.
- Runtime Image: Select the runtime image that was created in the previous steps. This identifies the container image required to run this node.
- CPU, GPU, RAM: Specify the resource requirements needed to run this script or notebook.
- File Dependencies: Any files that the notebook is dependent on (notebooks and scripts) such as for importing methods from can be specified here.
- Environment Variables: Specify the environment variables which are utilized within the notebooks and scripts here. To avoid exposing credentials of your secure bucket, you can use the Kubernetes Secret provided above in the Kubeflow Pipelines Runtime Configuration.
- Output Files: You can specify any files which are created during the execution and which might be needed by subsequent steps here.
The notebooks can exchange data using a cloud object storage and also using the Output Files which can be used to make certain files generated during execution available to all subsequent pipeline steps.
The
download_datasetandtrainingstep of the pipeline have some mandatory and optional environment variables for running in automation which need to be set during this step of setting up the pipeline.List of Environment Variables that need to be configured for the notebooks to run:
- The
download_datasetstep uses Output Files to make certain files available to the training step during execution. Make sure that the output filesdata/raw/mnist_datasets_tf/xdata.pkl,data/raw/mnist_datasets_tf/xtestdata.pkl,data/raw/mnist_datasets_tf/ydata.pkl,data/raw/mnist_datasets_tf/ytestdata.pklare specified for thedownload_datasetstep. - Env variable
AUTOMATIONmust be configured as 1 for both the notebooks to run in the pipeline. - The
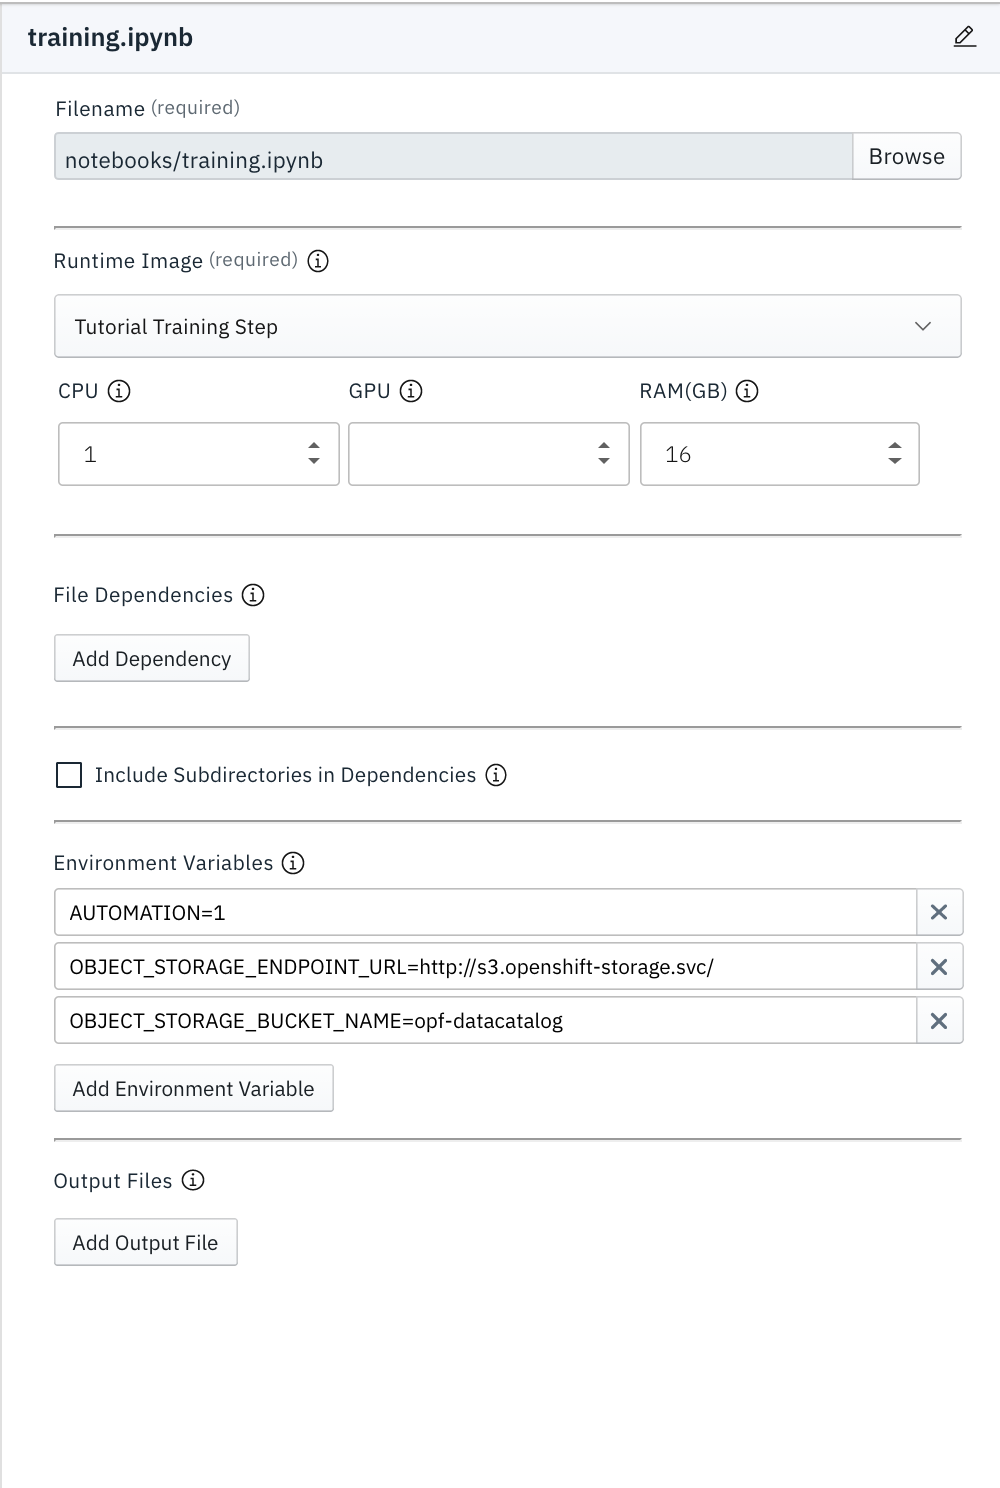
trainingstep also needs the cloud storage environment credentials like theOBJECT_STORAGE_BUCKET_NAMEandOBJECT_STORAGE_ENDPOINT_URLto store the trained model on the S3 bucket.
Please note, the
AWS_ACCESS_KEY_ID,AWS_SECRET_ACCESS_KEYenvironment variables needed to run thetrainingnotebook are already defined in the Kubeflow Pipelines Runtime Configuration and can be accessed from there. If you are using theCloud Object Storage Credentials Secret, that would contain both theAWS_ACCESS_KEY_IDandAWS_SECRET_ACCESS_KEY.The following images show the minimum list of environment variables that need to be configured for the
download_datasetandtrainingnotebooks to run in Automation as outlined above.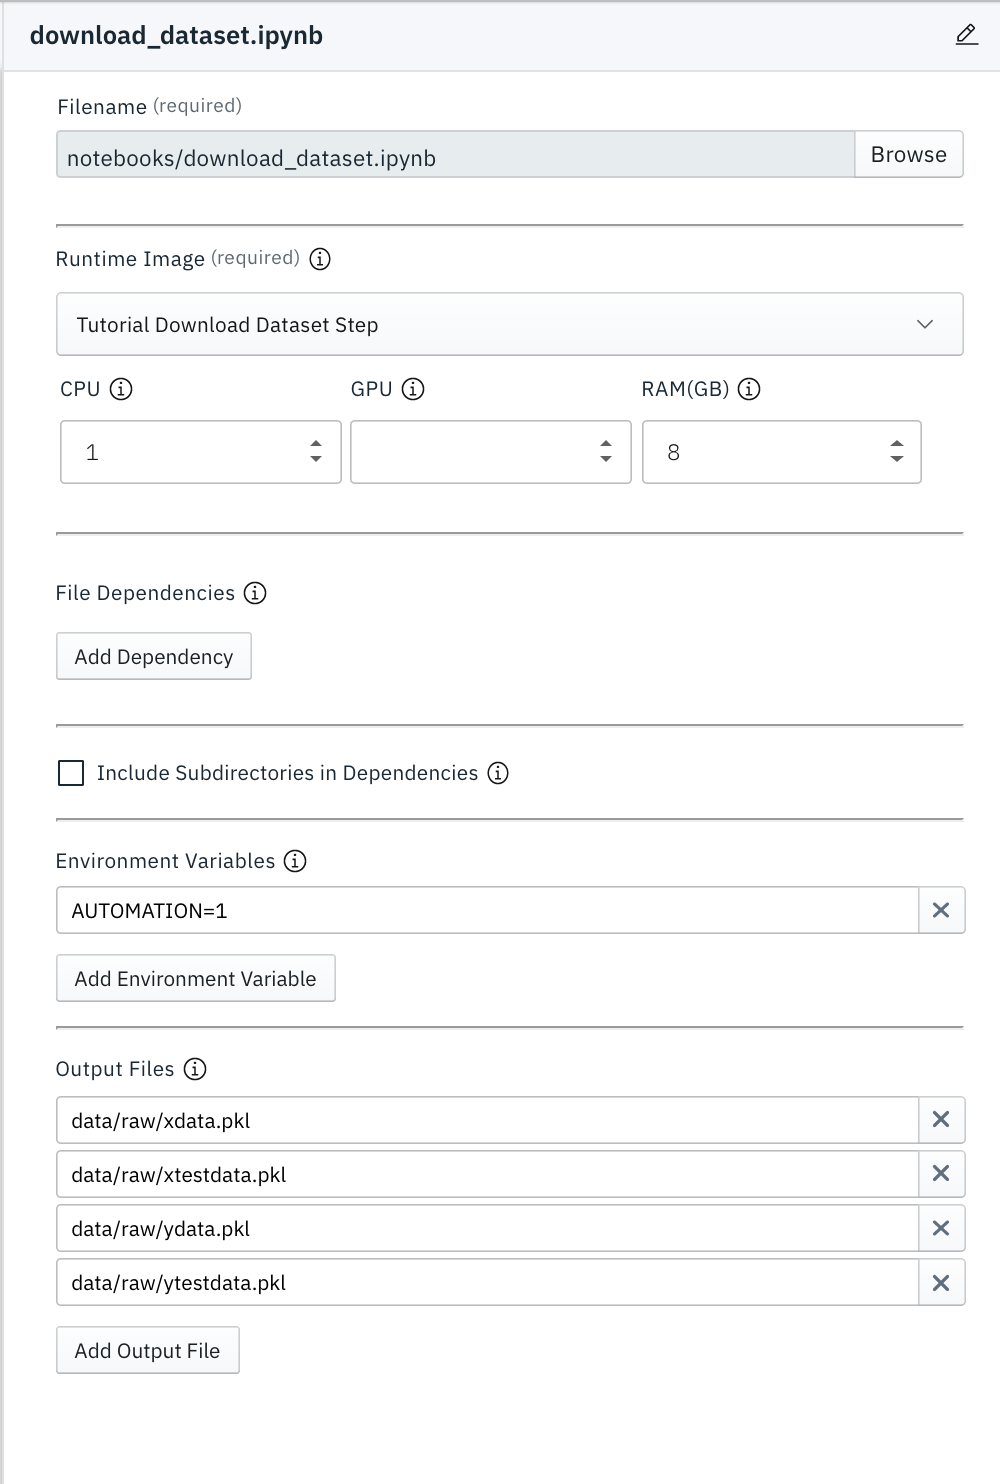
-
To explain what each node in the pipeline is doing, you can add comments and describe your steps (Optional) by clicking on the Comment icon on the top panel.
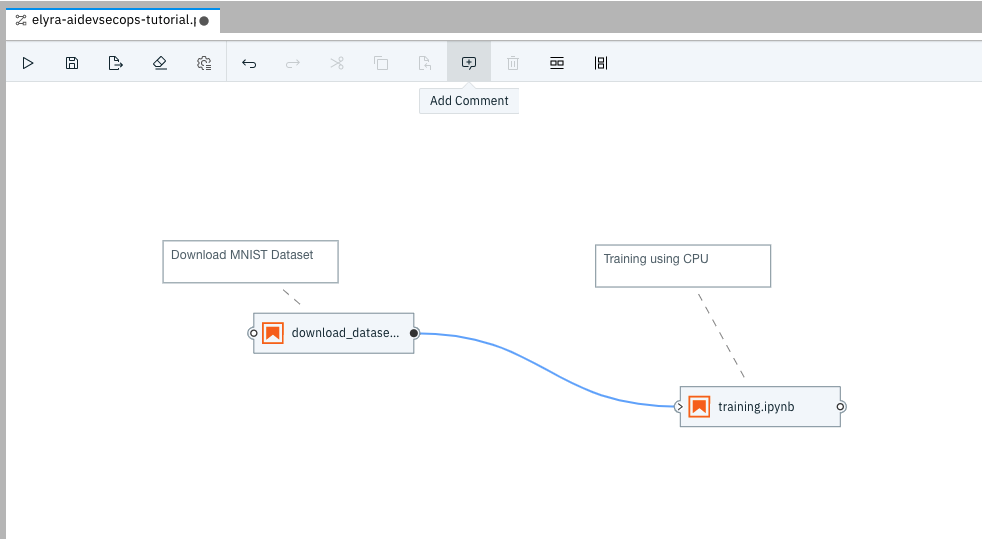
-
Save your AI Pipeline.
You can find the above pipeline here.